Setting up an OAuth connection between Honeycomb Maps and Databricks
Create a Honeycomb Maps account
- Go to app.honeycombmaps.com. You will be redirected to a sign-in page.
- Click on 'Create Account'
- Enter your email and a new password. A verification code will be sent to your email.
- On the next page, enter the verification code from your email
- You should now land on the Honeycomb Maps homepage.
Set up a connection to Databricks
A connection defines how Honeycomb Maps fetches data securely from external systems like data warehouses
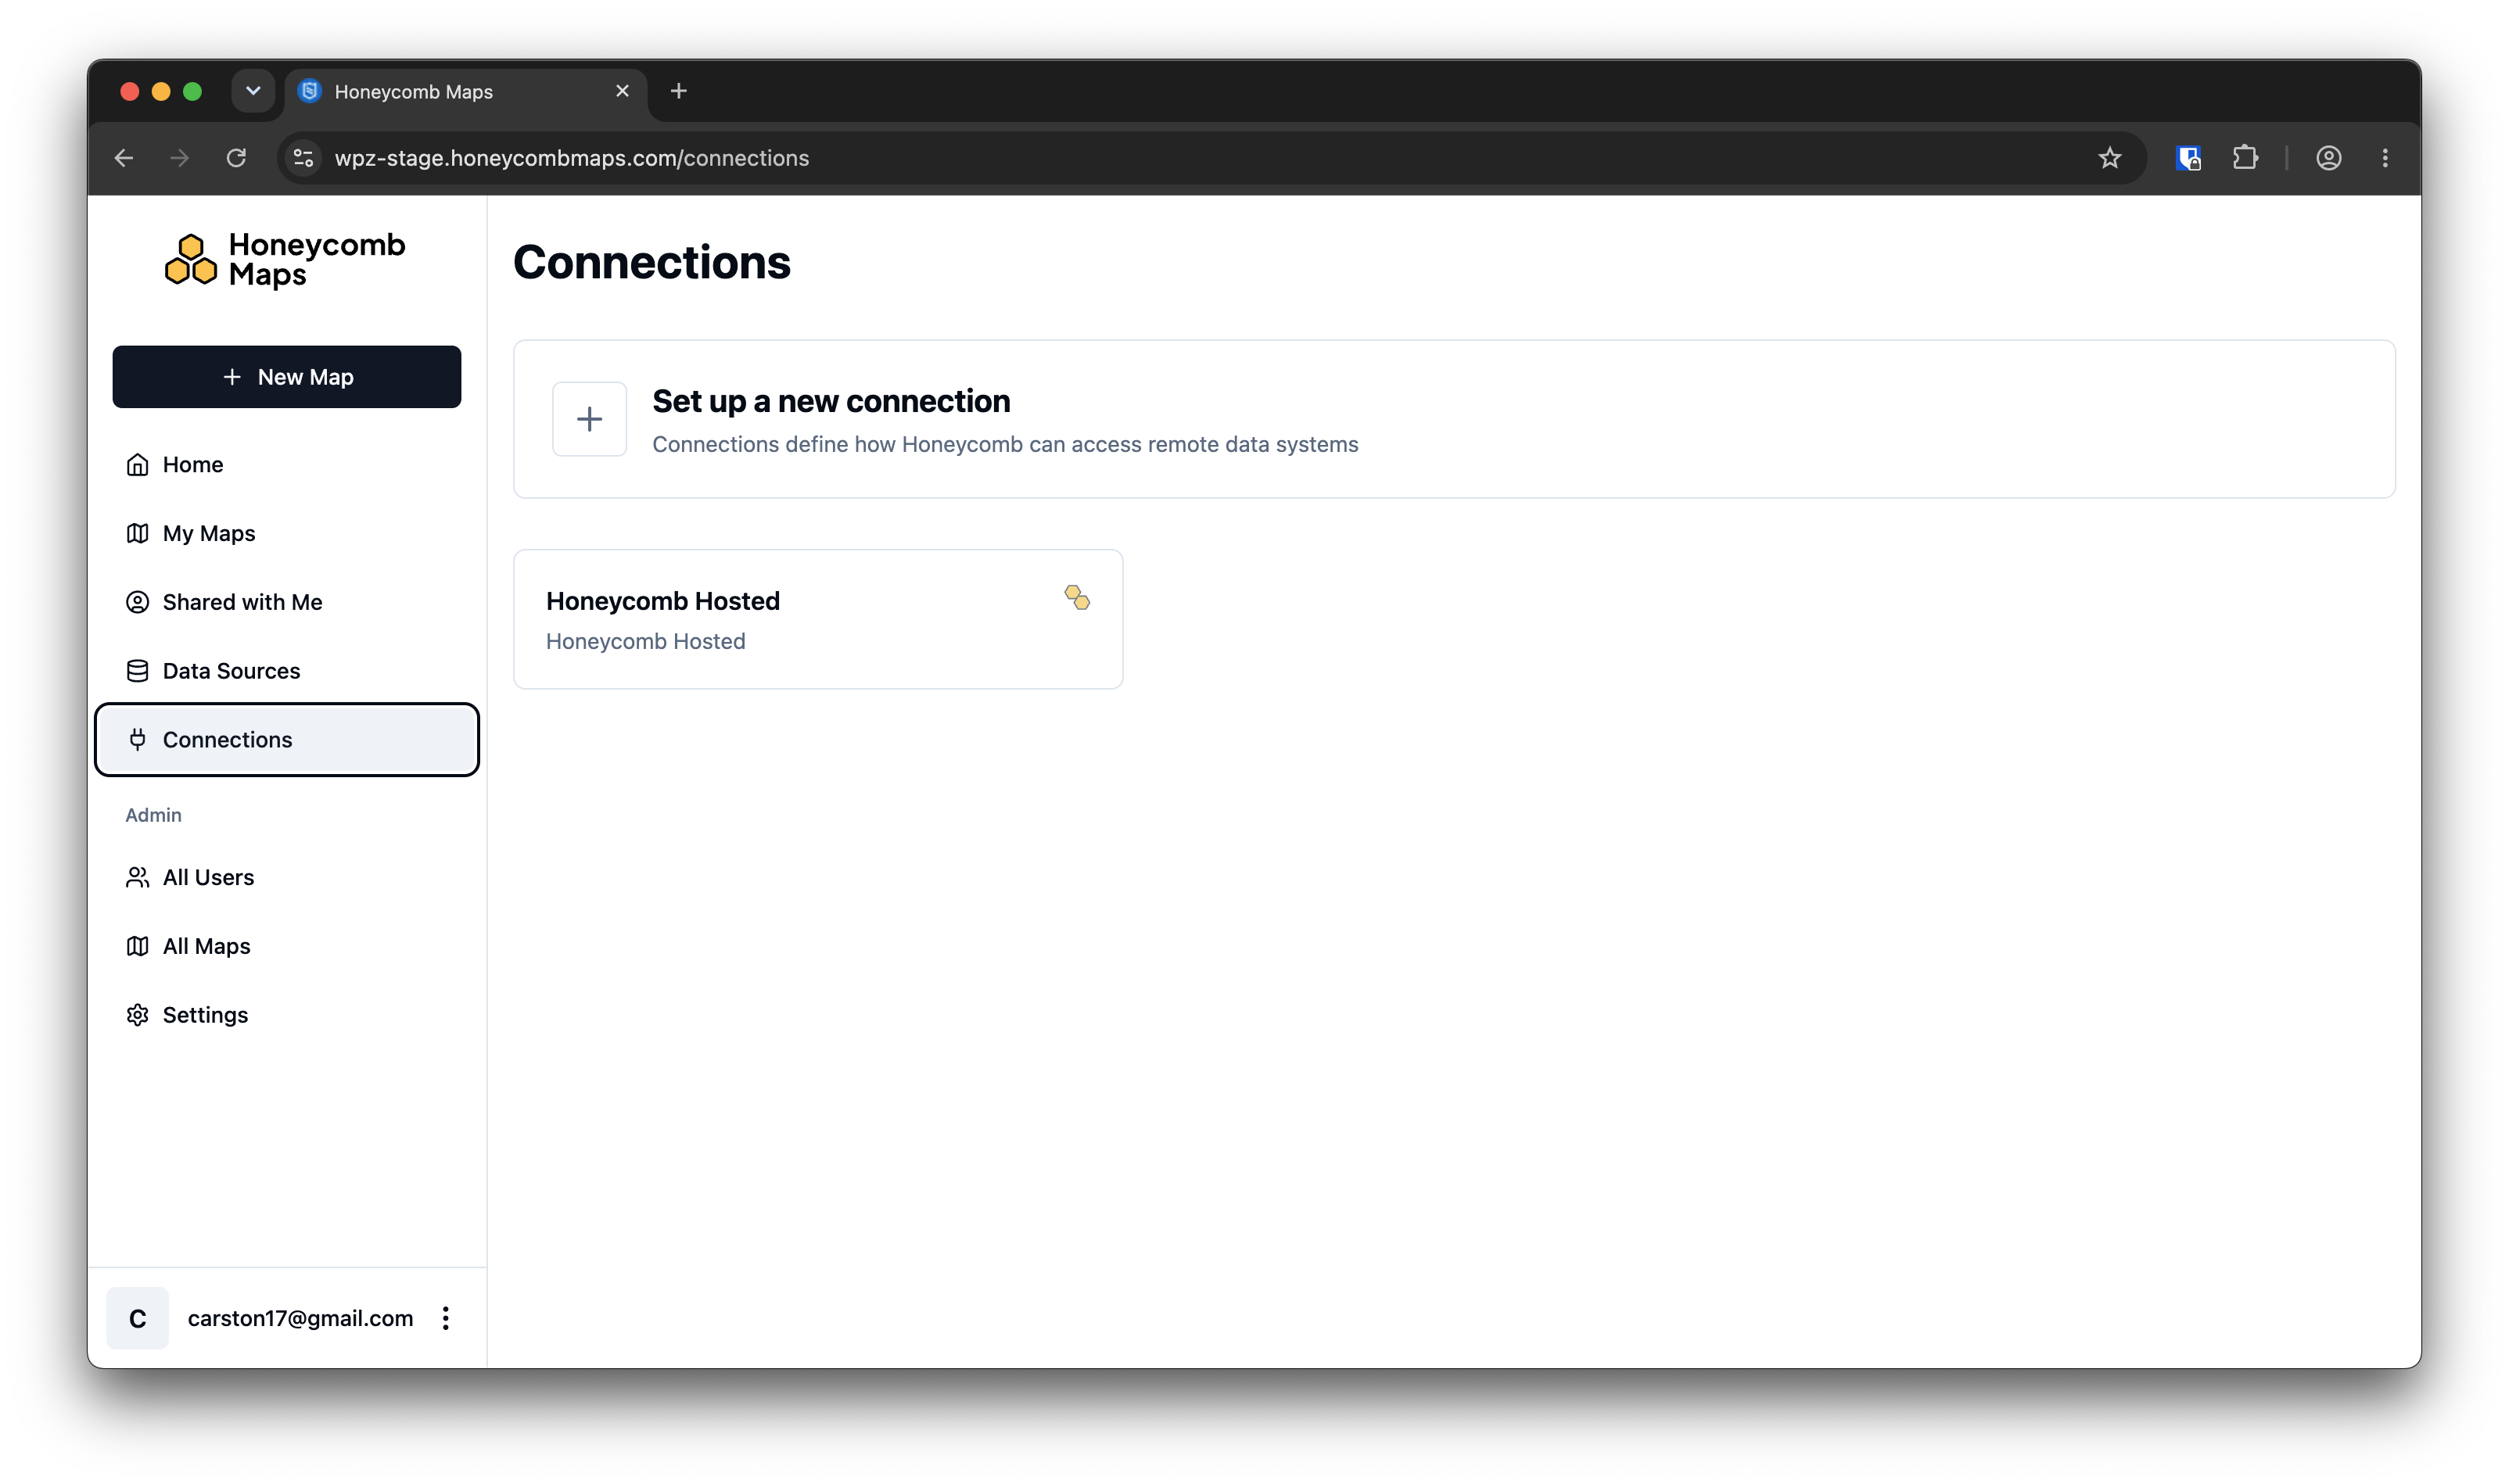
- Click on 'Connections' on the left-hand menu
- Click on 'Set up a new connection' on the top
Click on 'Databricks'.
For 'Authentication method', click on
OAUTH_U2M. You can read more about different supported authentication methods in the Databricks documentation here: https://databrickslabs.github.io/partner-architecture/isv-partners/lakehouse-patterns/access-auth#authentication-comparison.Now, switch to Databricks in a new tab. You will need to first set up Honeycomb Maps as an external application in Databricks, then come back and copy information into the 'Configure Connection' page in Honeycomb.
Go to your Databricks account console (not workspace)
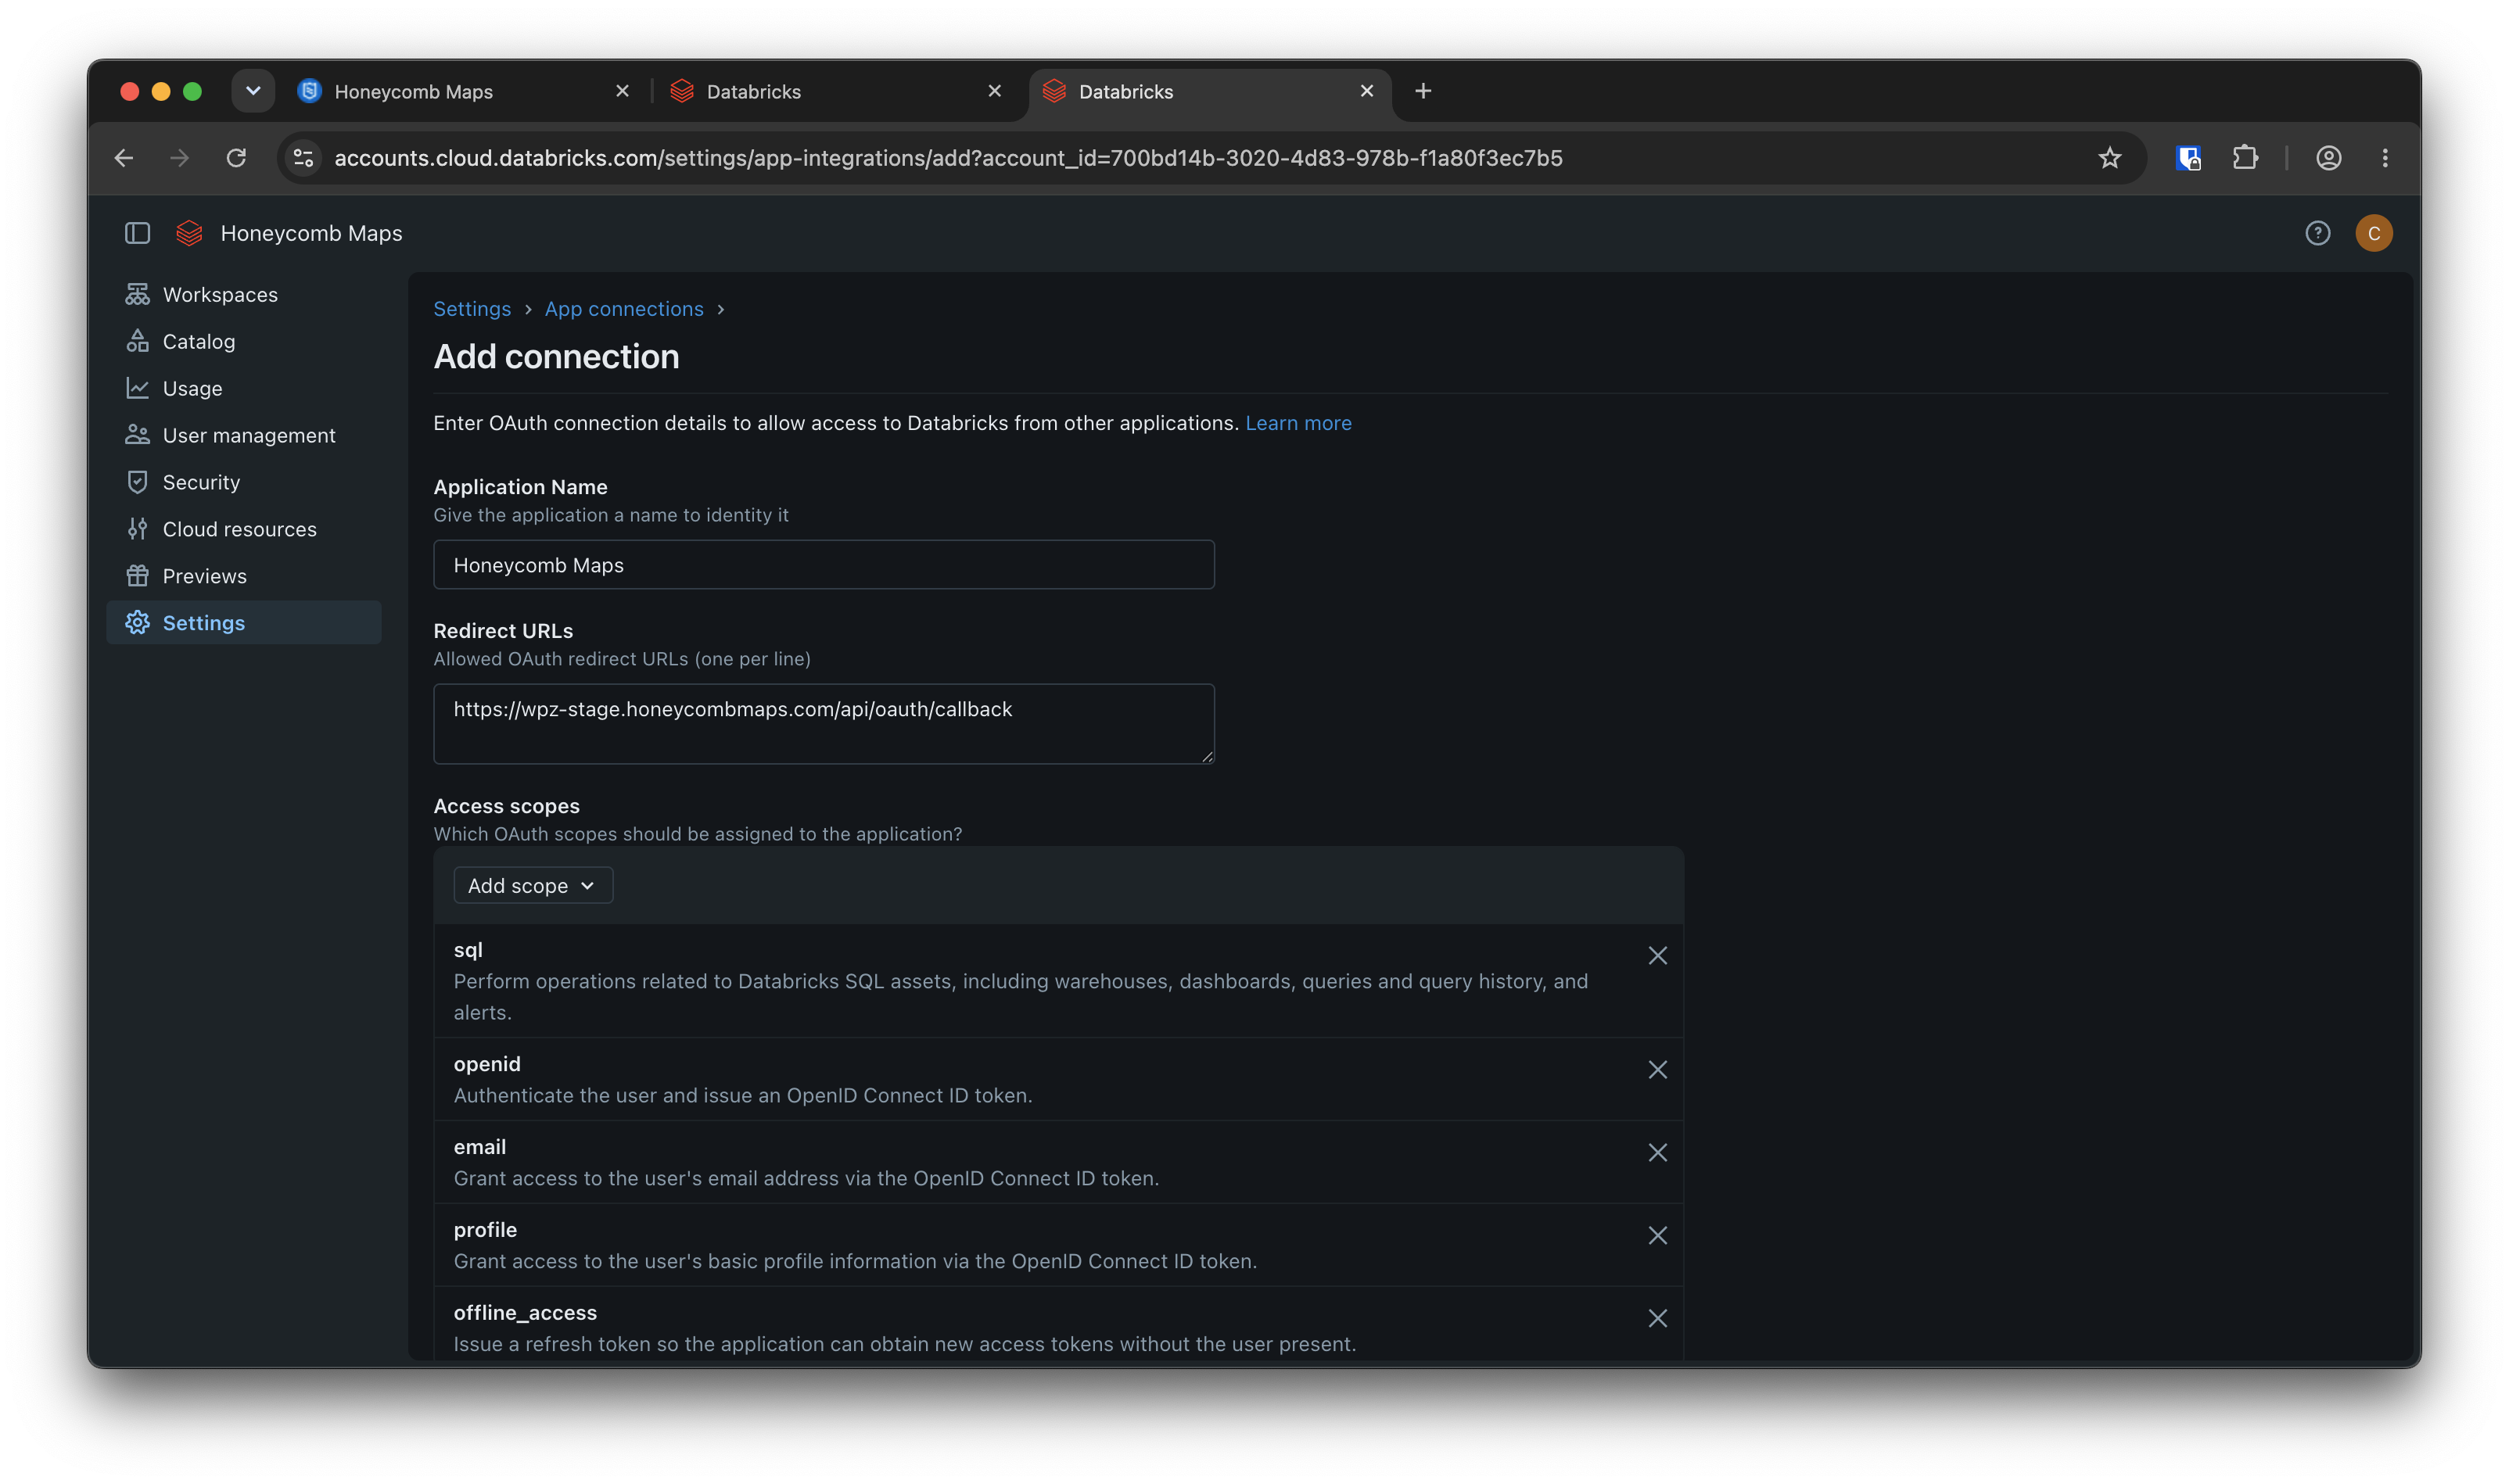
On the left menu, click on Settings -> App connections
Click on 'Add connection'
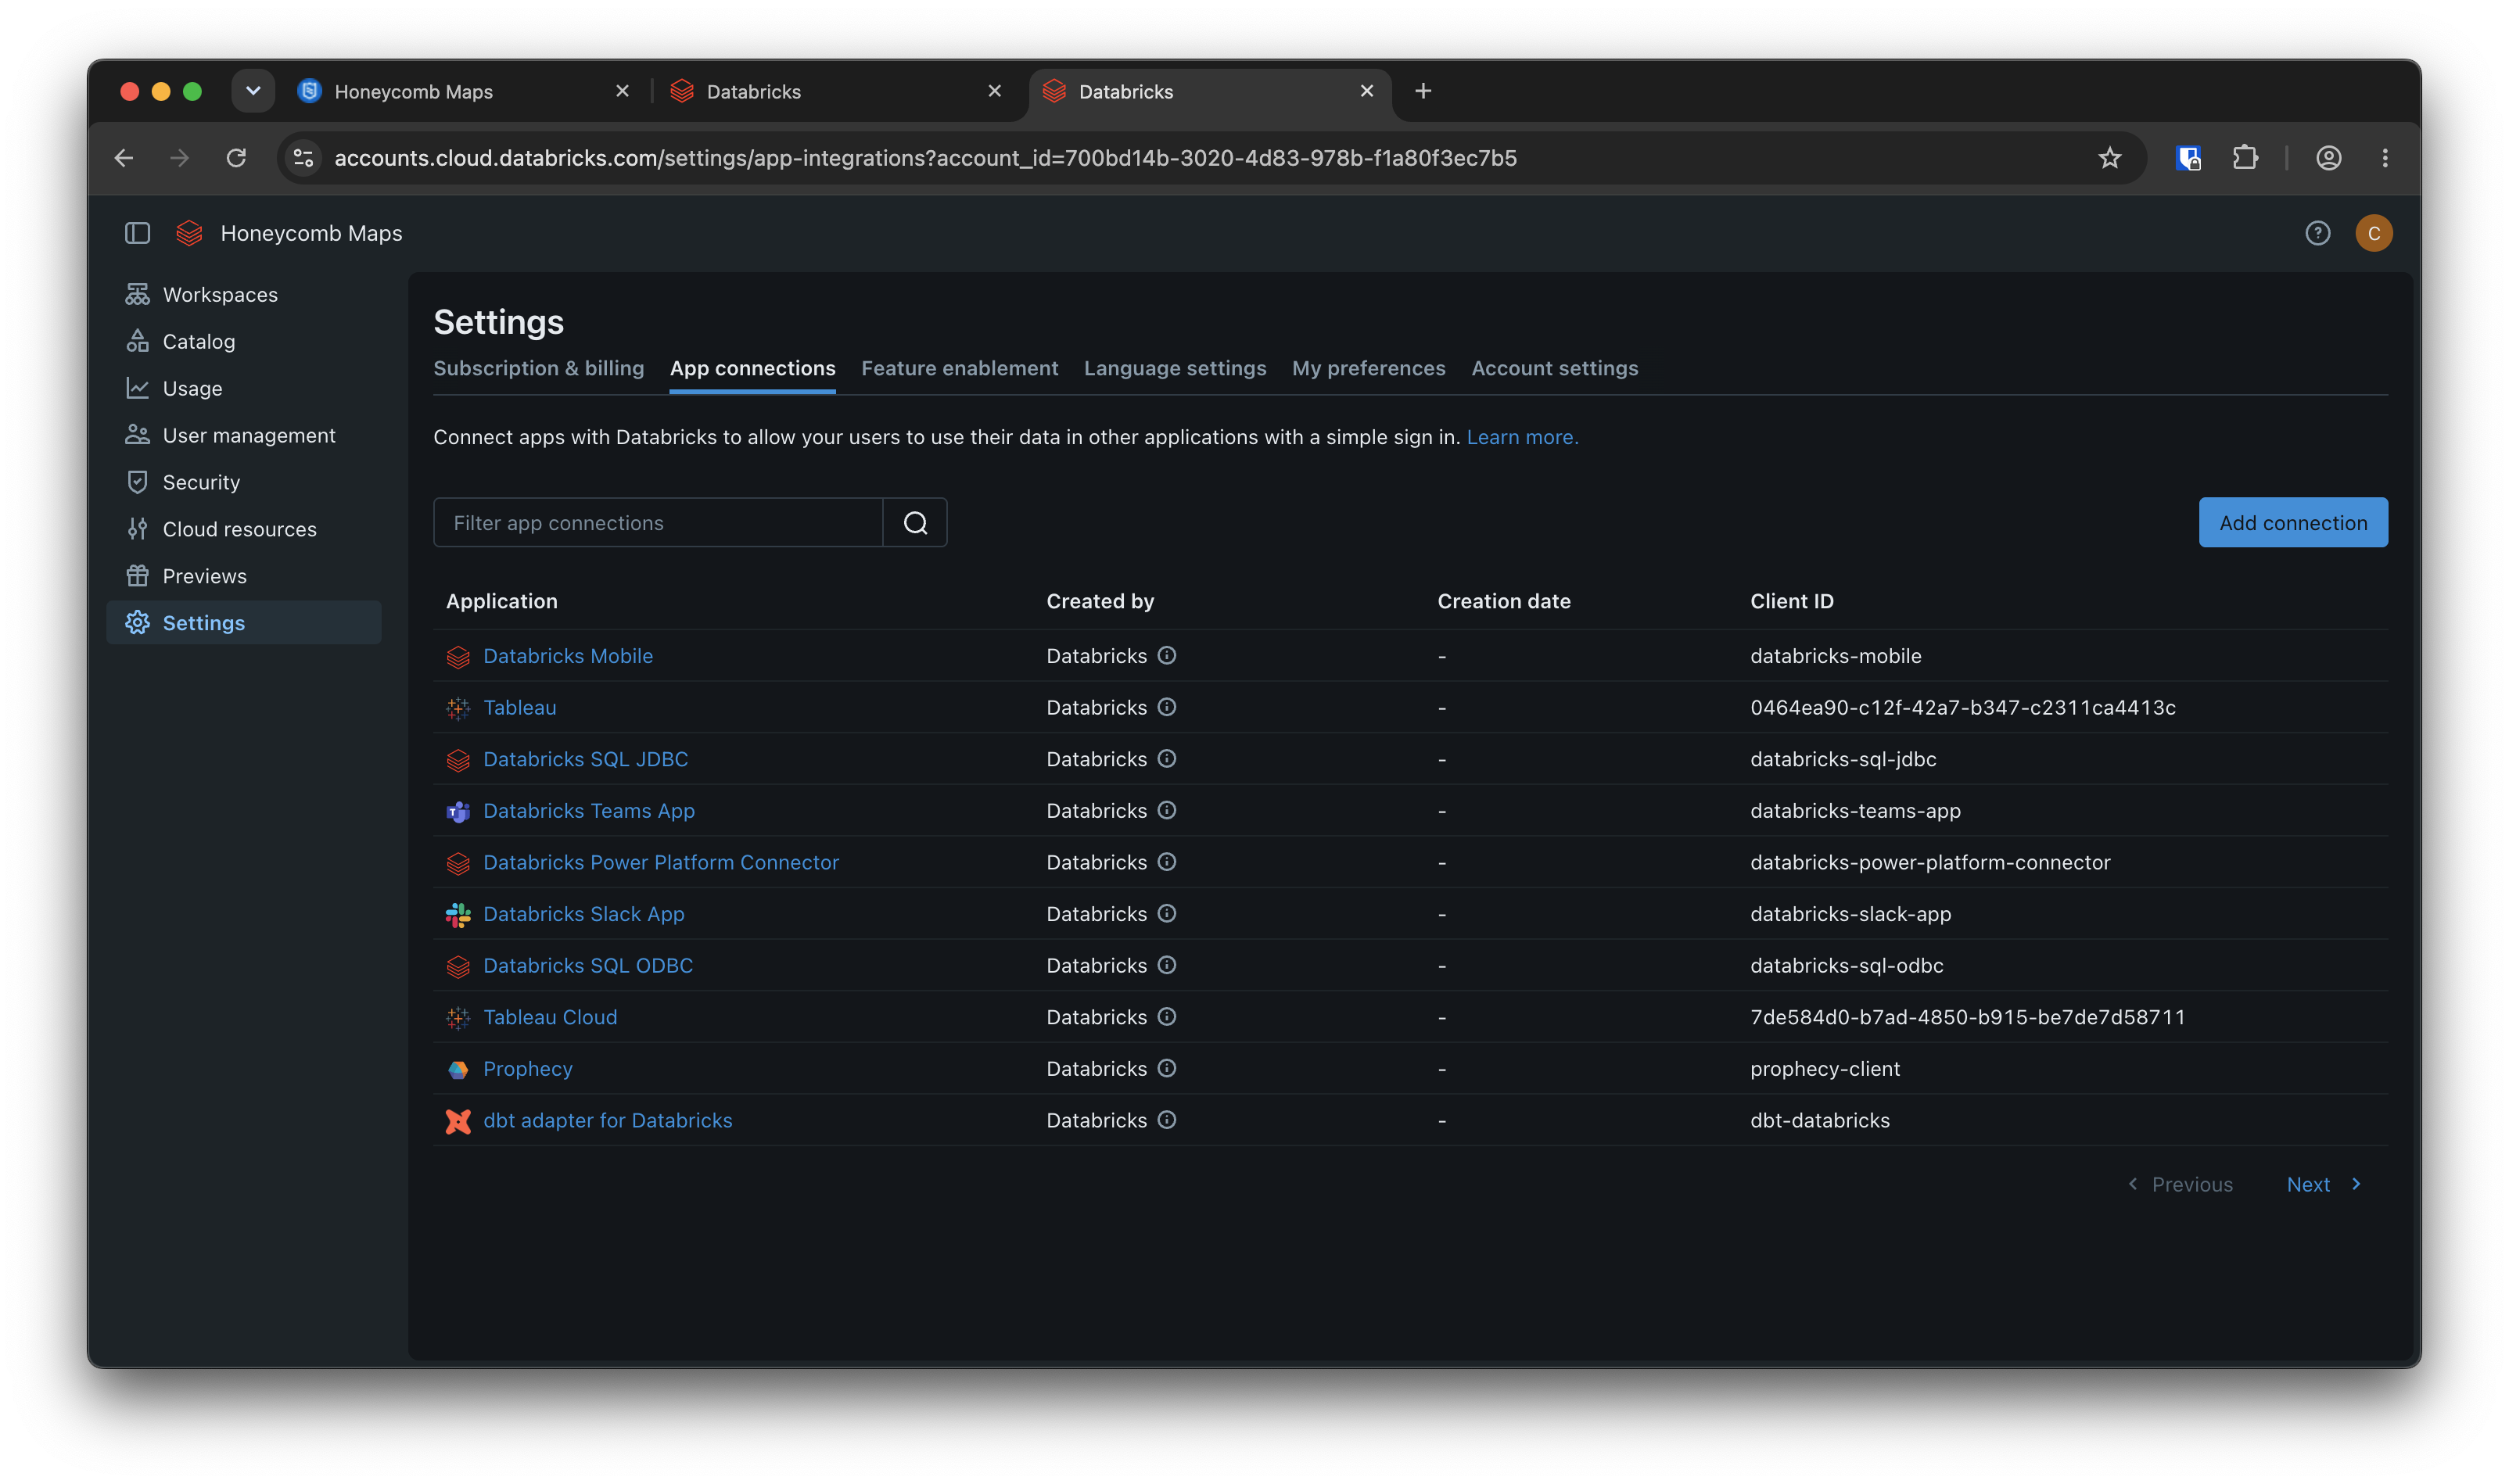
- Fill in the following info:
| Field | Value |
|---|---|
| Application Name | Honeycomb Maps |
| Redirect URLs | Copy this from the top of the Honeycomb Maps 'Configure Connection' screen, in the 'Redirect URI' section. |
| Scopes | Default scopes are good. sql and offline_access are the minimum required scopes. |
| Client Secret | Yes. Click the box to generate a client secret. |
| Single-Use Refresh Tokens | Yes. Click the box to enable single-use refresh tokens. |
Leave the rest of the options as-is
Click on 'Add'. A dialog will pop up that says 'Connection created', along with a Client ID and Client Secret
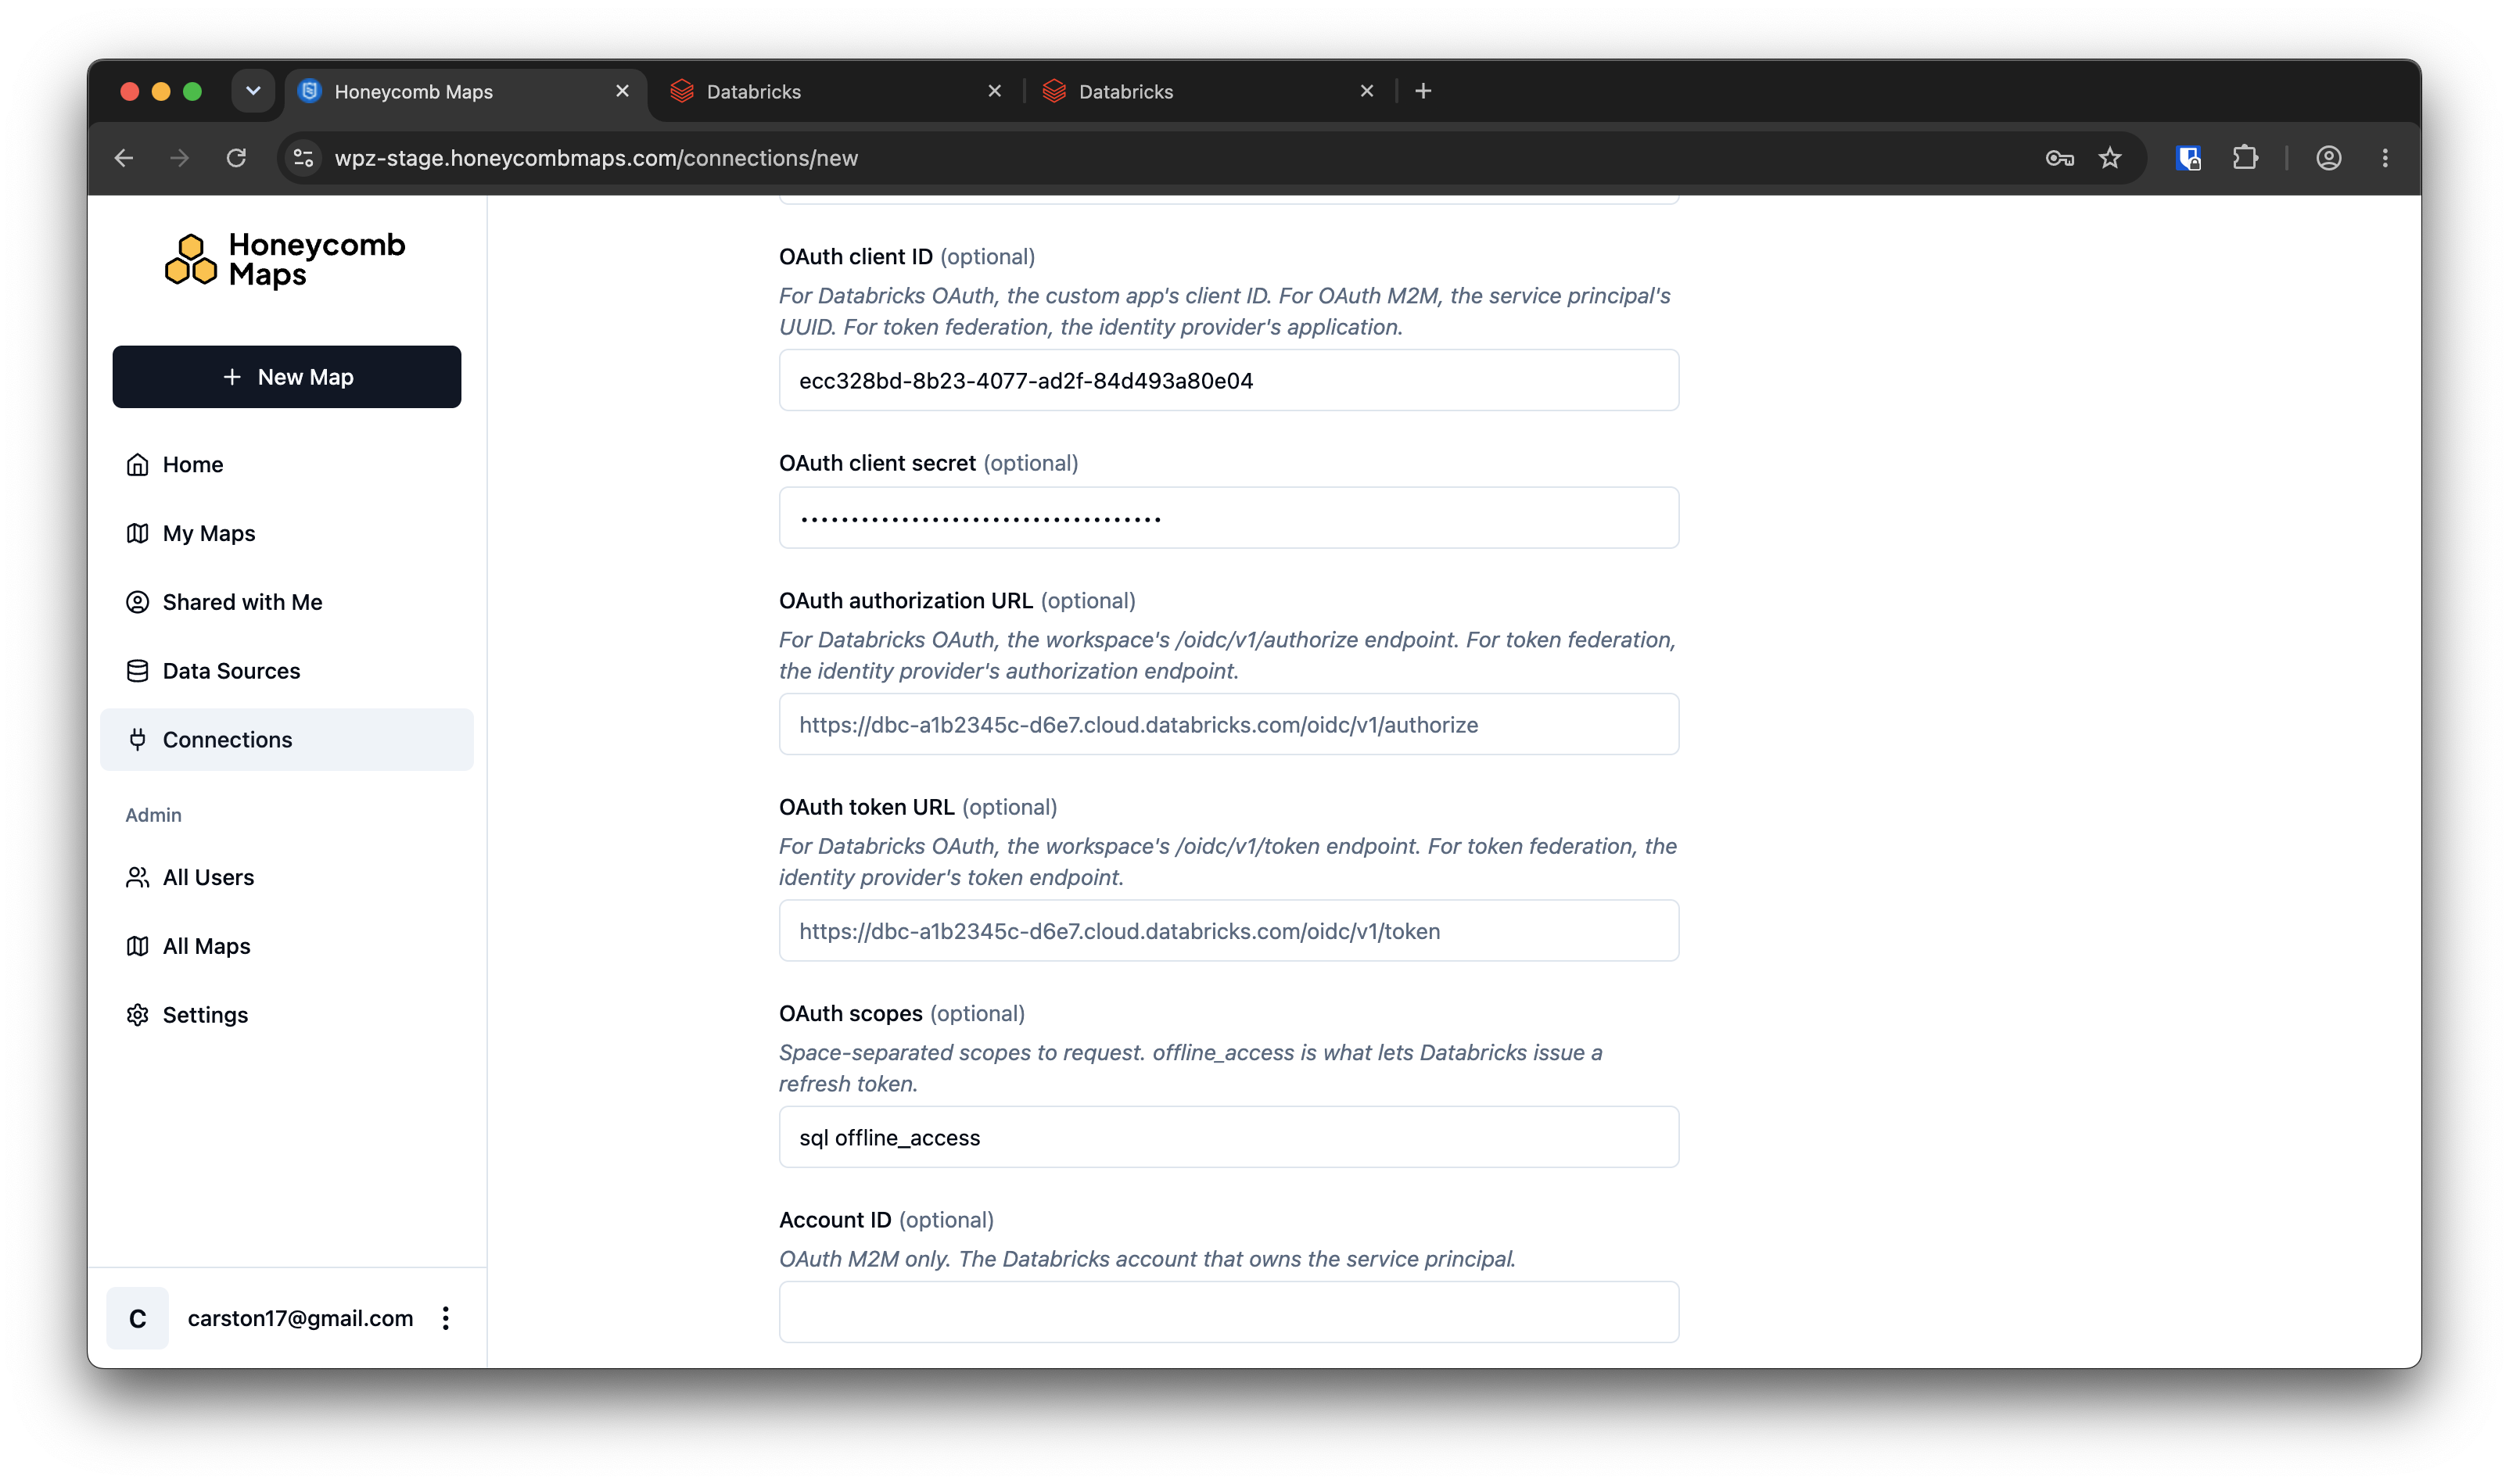
Copy the Client ID and Client Secret values into the corresponding fields in Honeycomb Maps. Client ID -> 'OAuth client ID' Client Secret -> 'OAuth client secret'
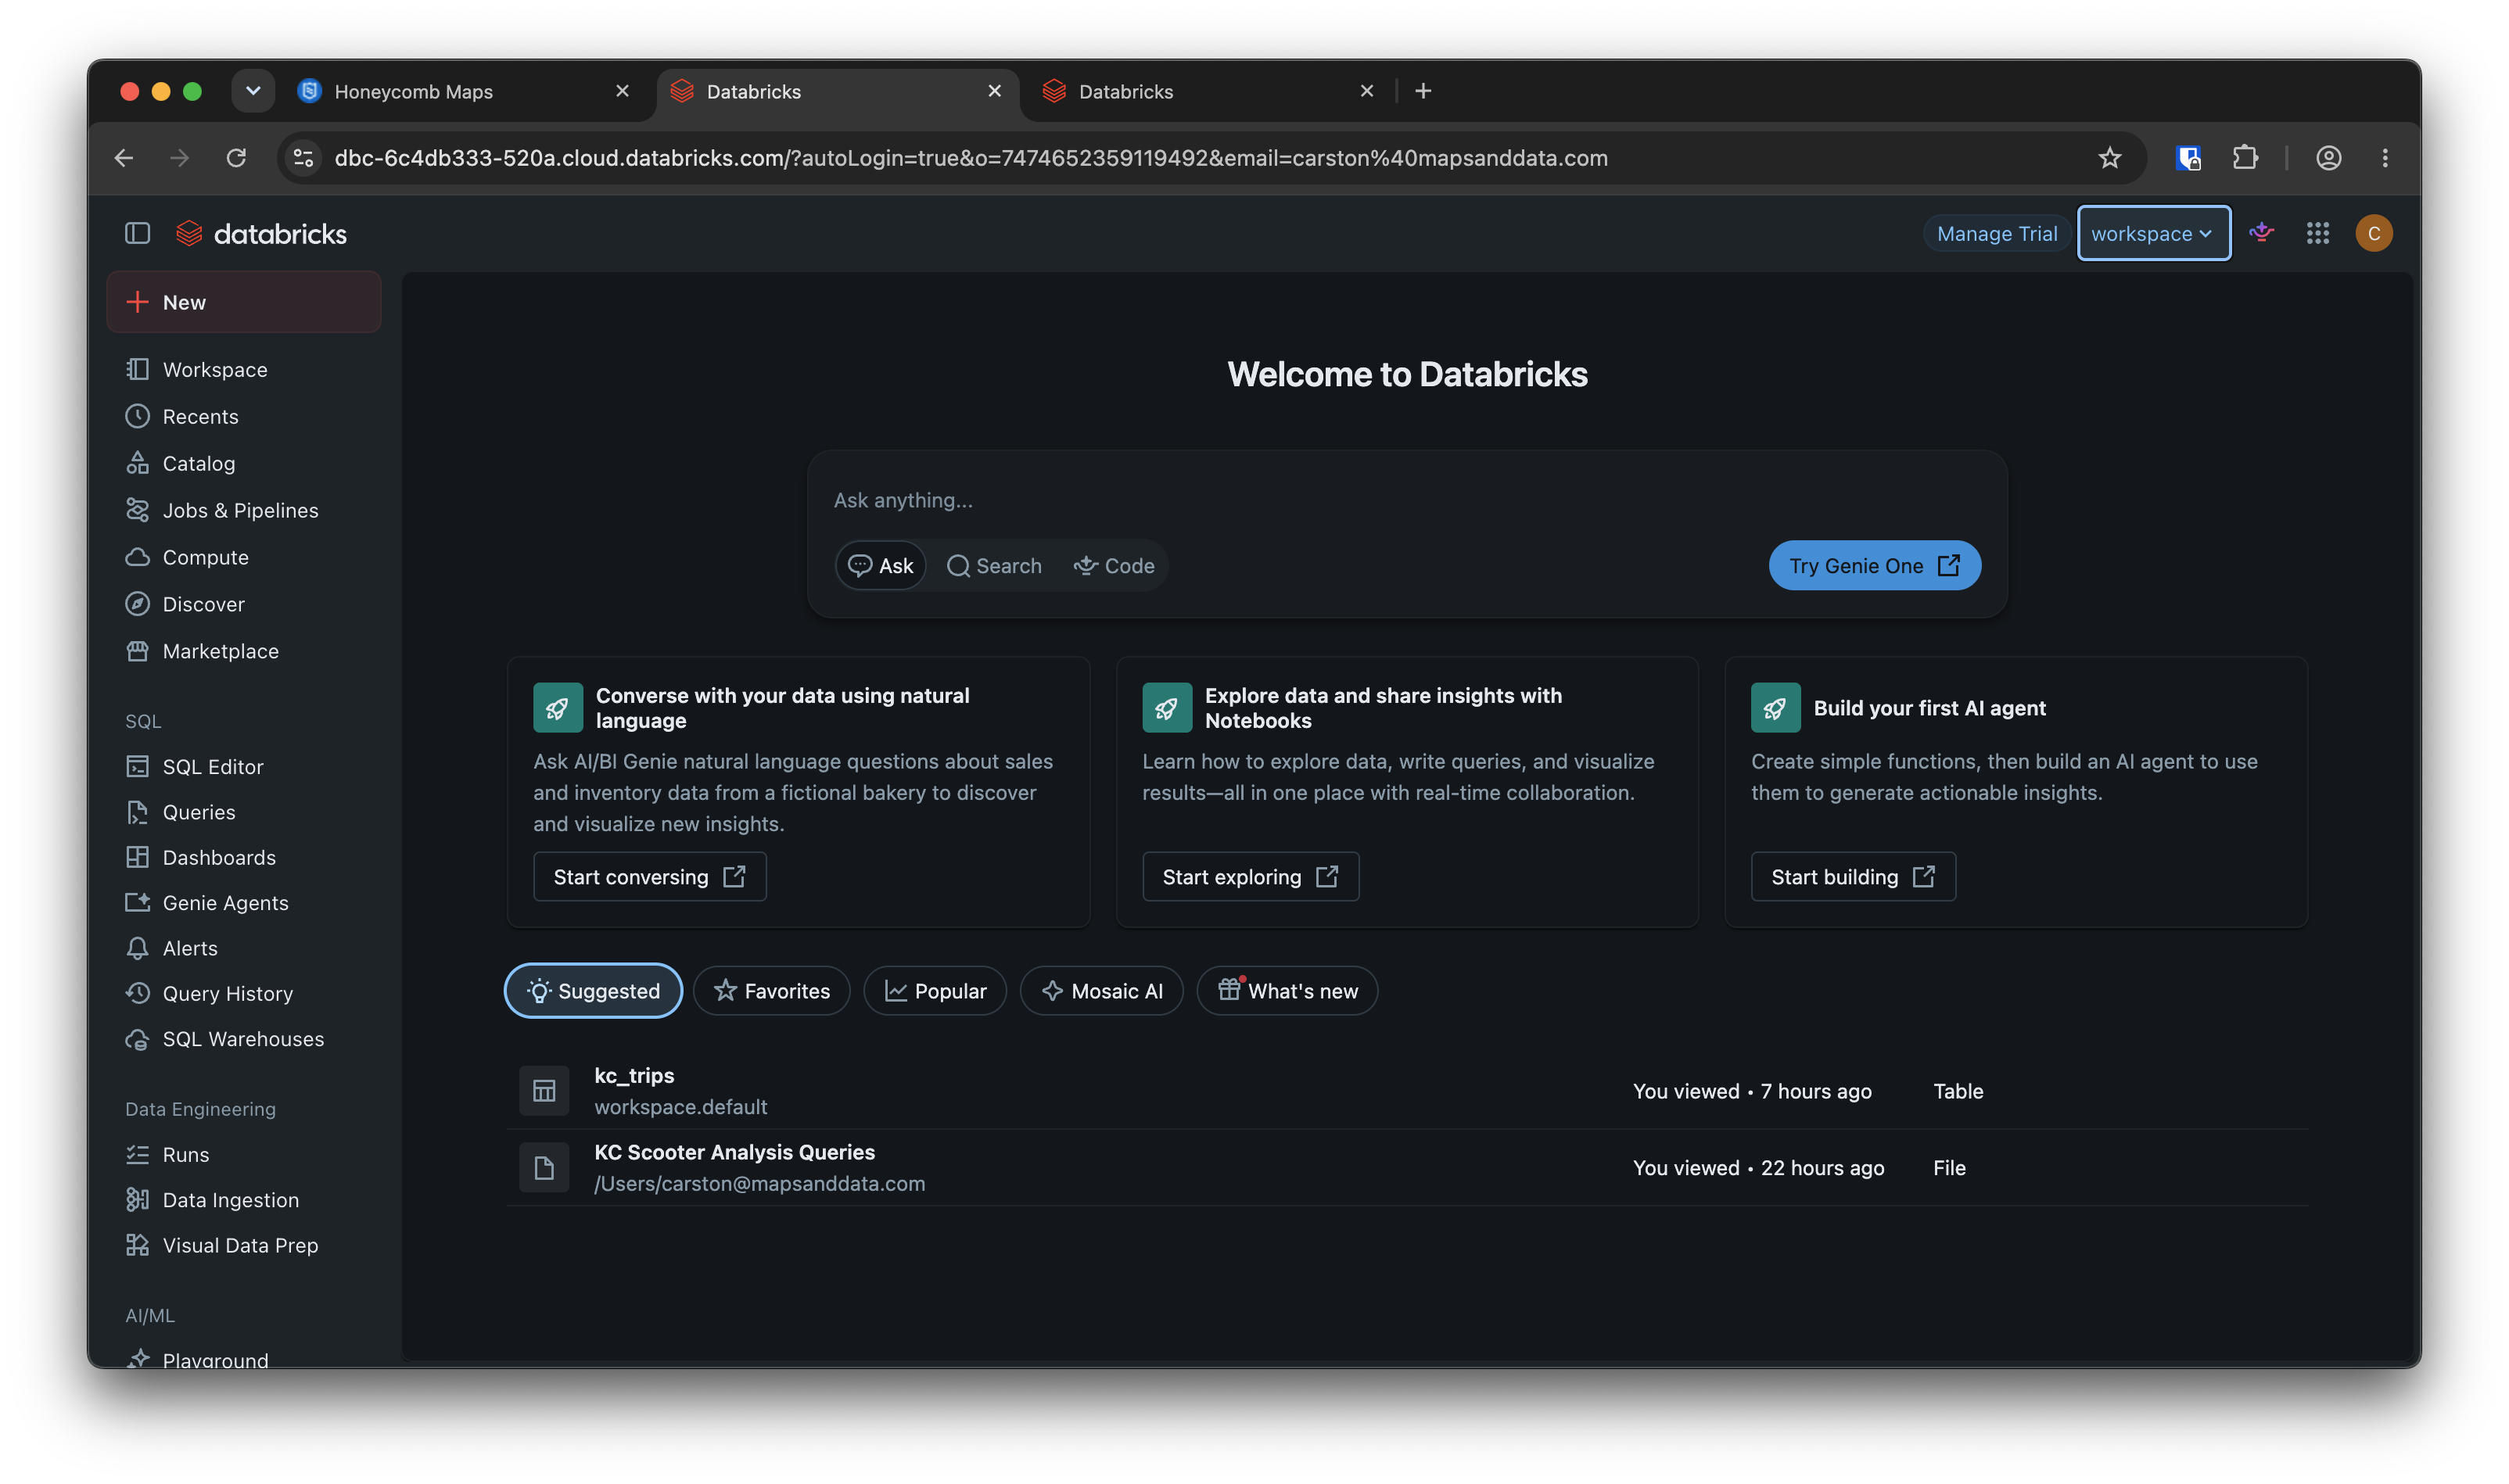
Go back to Databricks. You can close the dialog. Now go to the Databricks workspace you would like to use with Honeycomb Maps.
We will now give Honeycomb the information needed to connect to the right Databricks workspace. On the left-hand menu within your Databricks workspace, click on 'SQL Warehouses'.
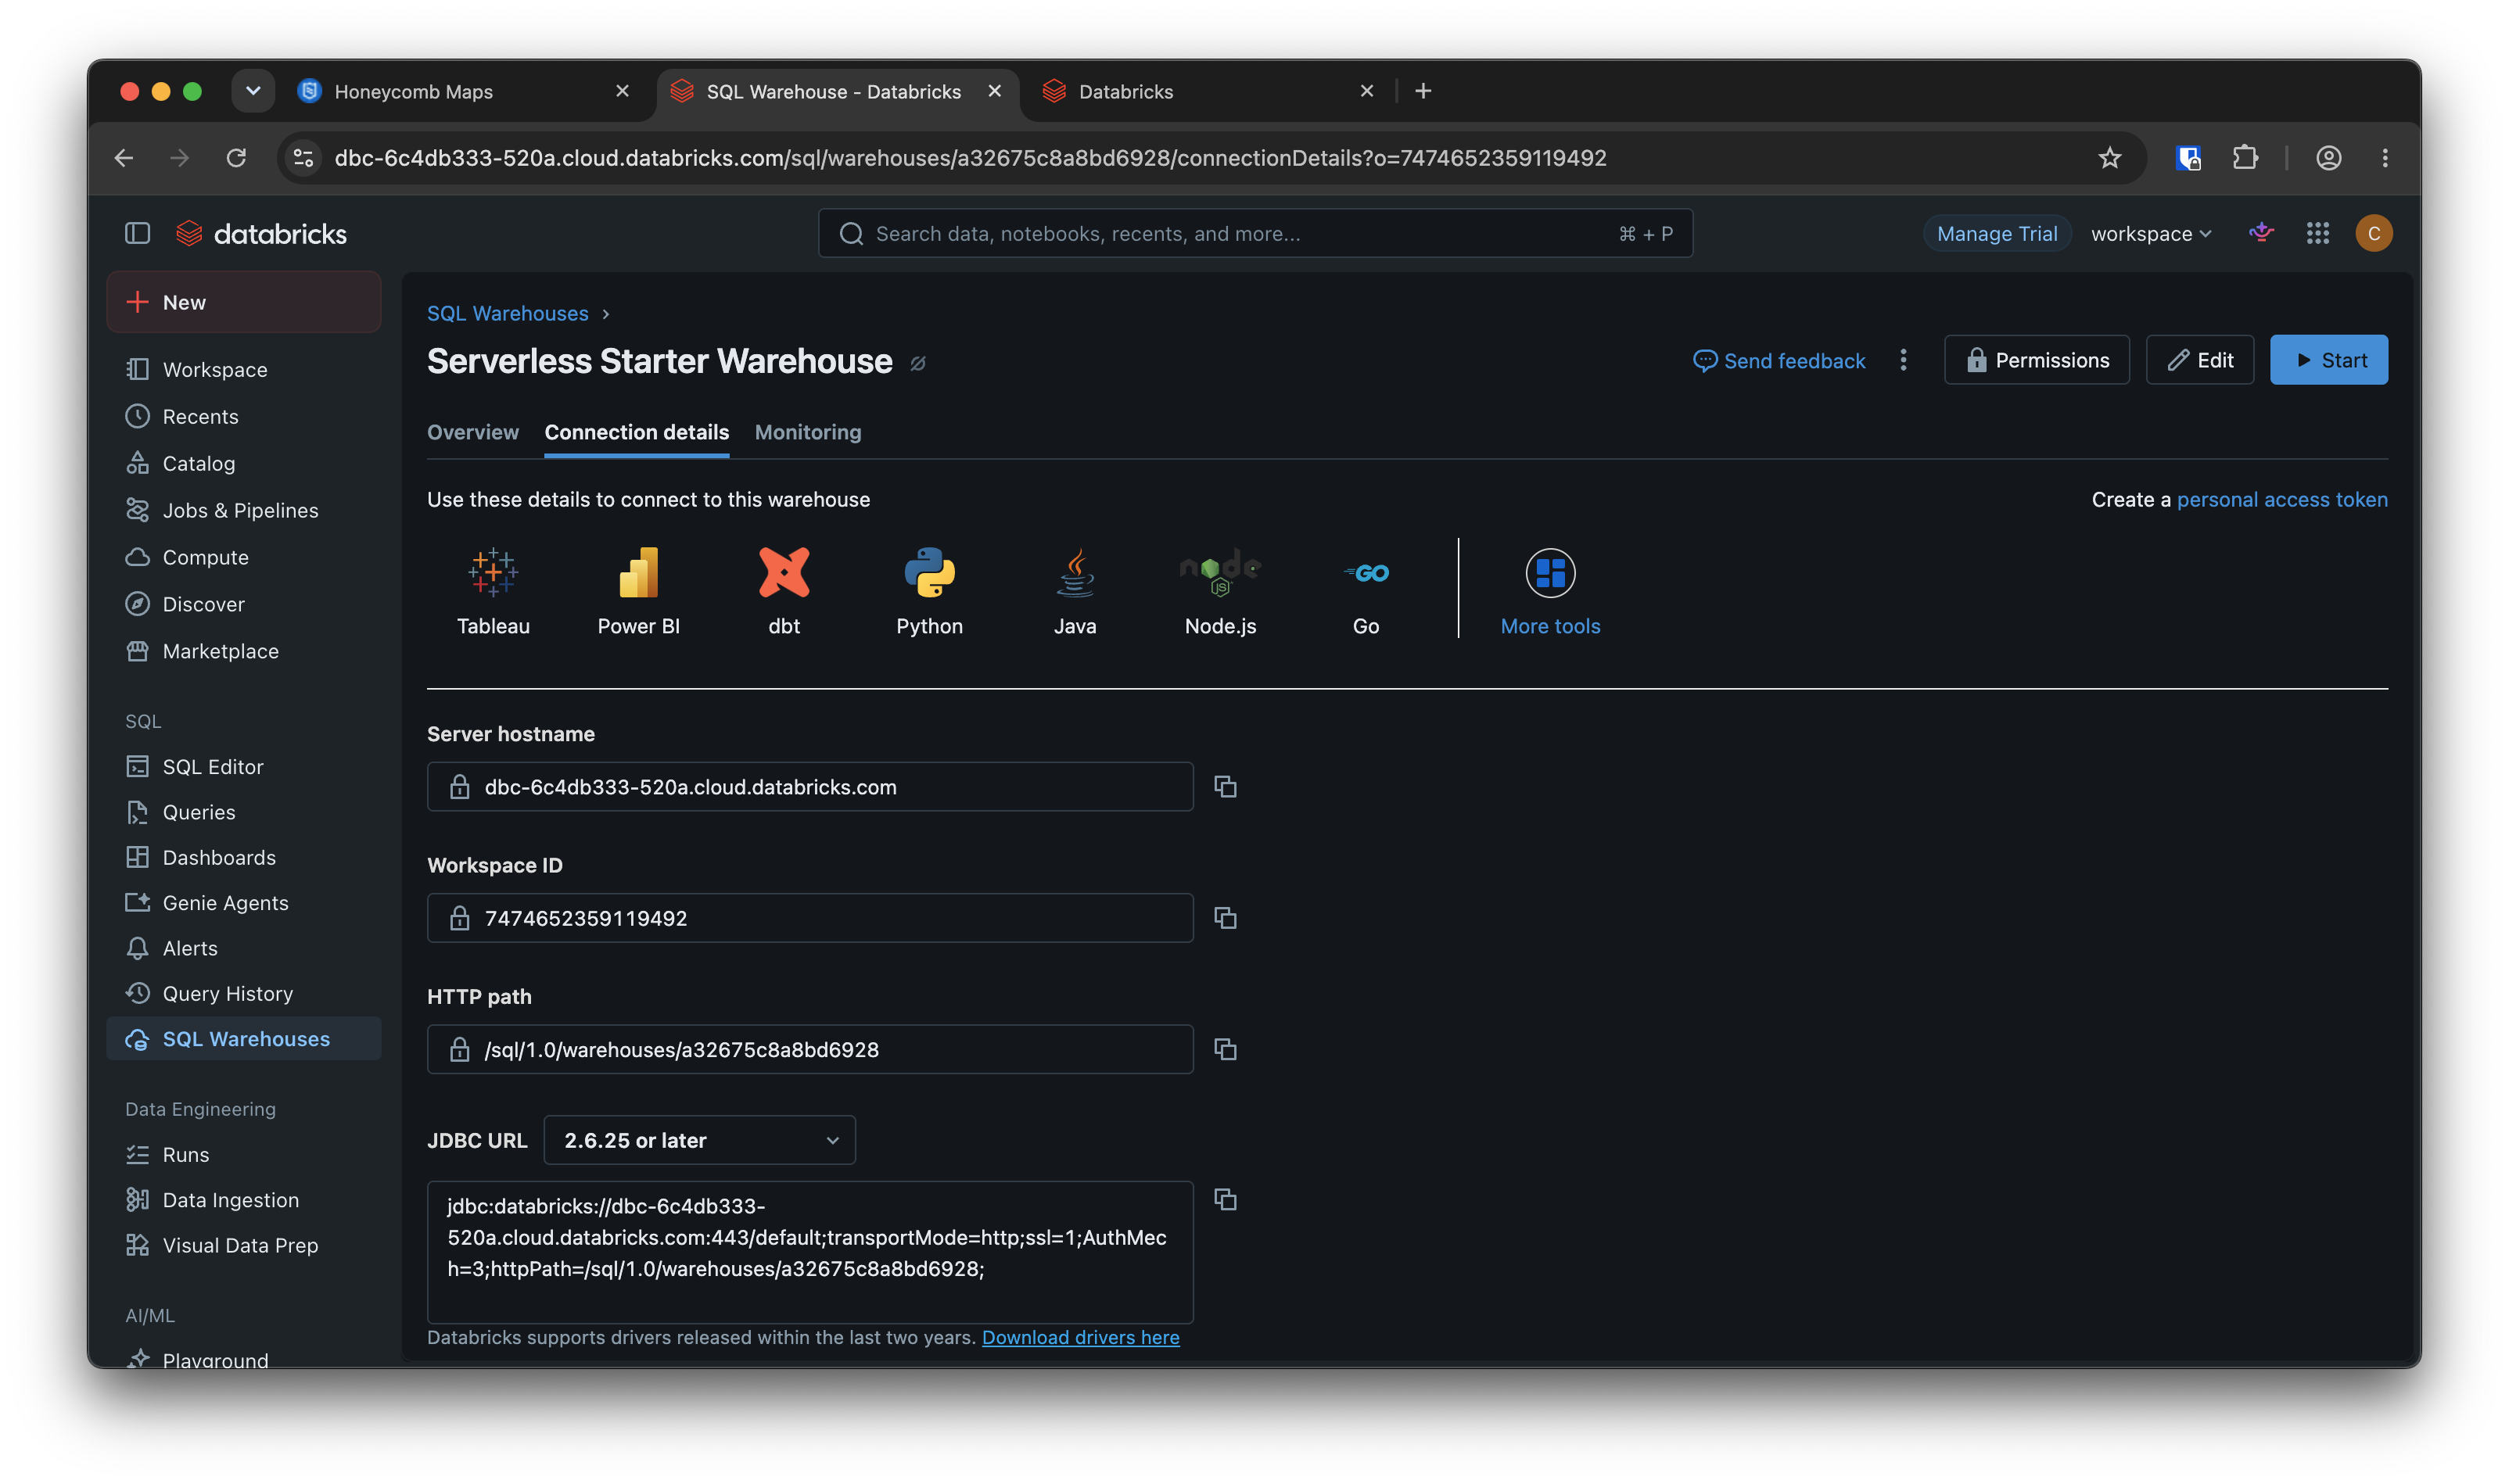
Select the warehouse you want to use with Honeycomb.
Click on 'Connection details'
Copy the following information into Honeycomb Maps
| Field | Required for Databricks U2M | Details |
|---|---|---|
| Connection Name | Yes | User-facing name for the connection |
| Server hostname | Yes | Use the 'Server hostname' value from Databricks |
| Workspace ID | No | Not needed |
| HTTP Path | Yes | Use the 'HTTP Path' value from Databricks |
| OAuth authorization URL | Yes | {Databricks OAuth URL} + /v1/authorize |
| OAuth token URL | Yes | {Databricks OAuth URL} + /v1/token |
For example, https://dbc-6c4db333-520a.cloud.databricks.com/oidc from Databricks becomes https://dbc-6c4db333-520a.cloud.databricks.com/oidc/v1/authorize and https://dbc-6c4db333-520a.cloud.databricks.com/oidc/v1/token.
Click on 'Save Connection'.
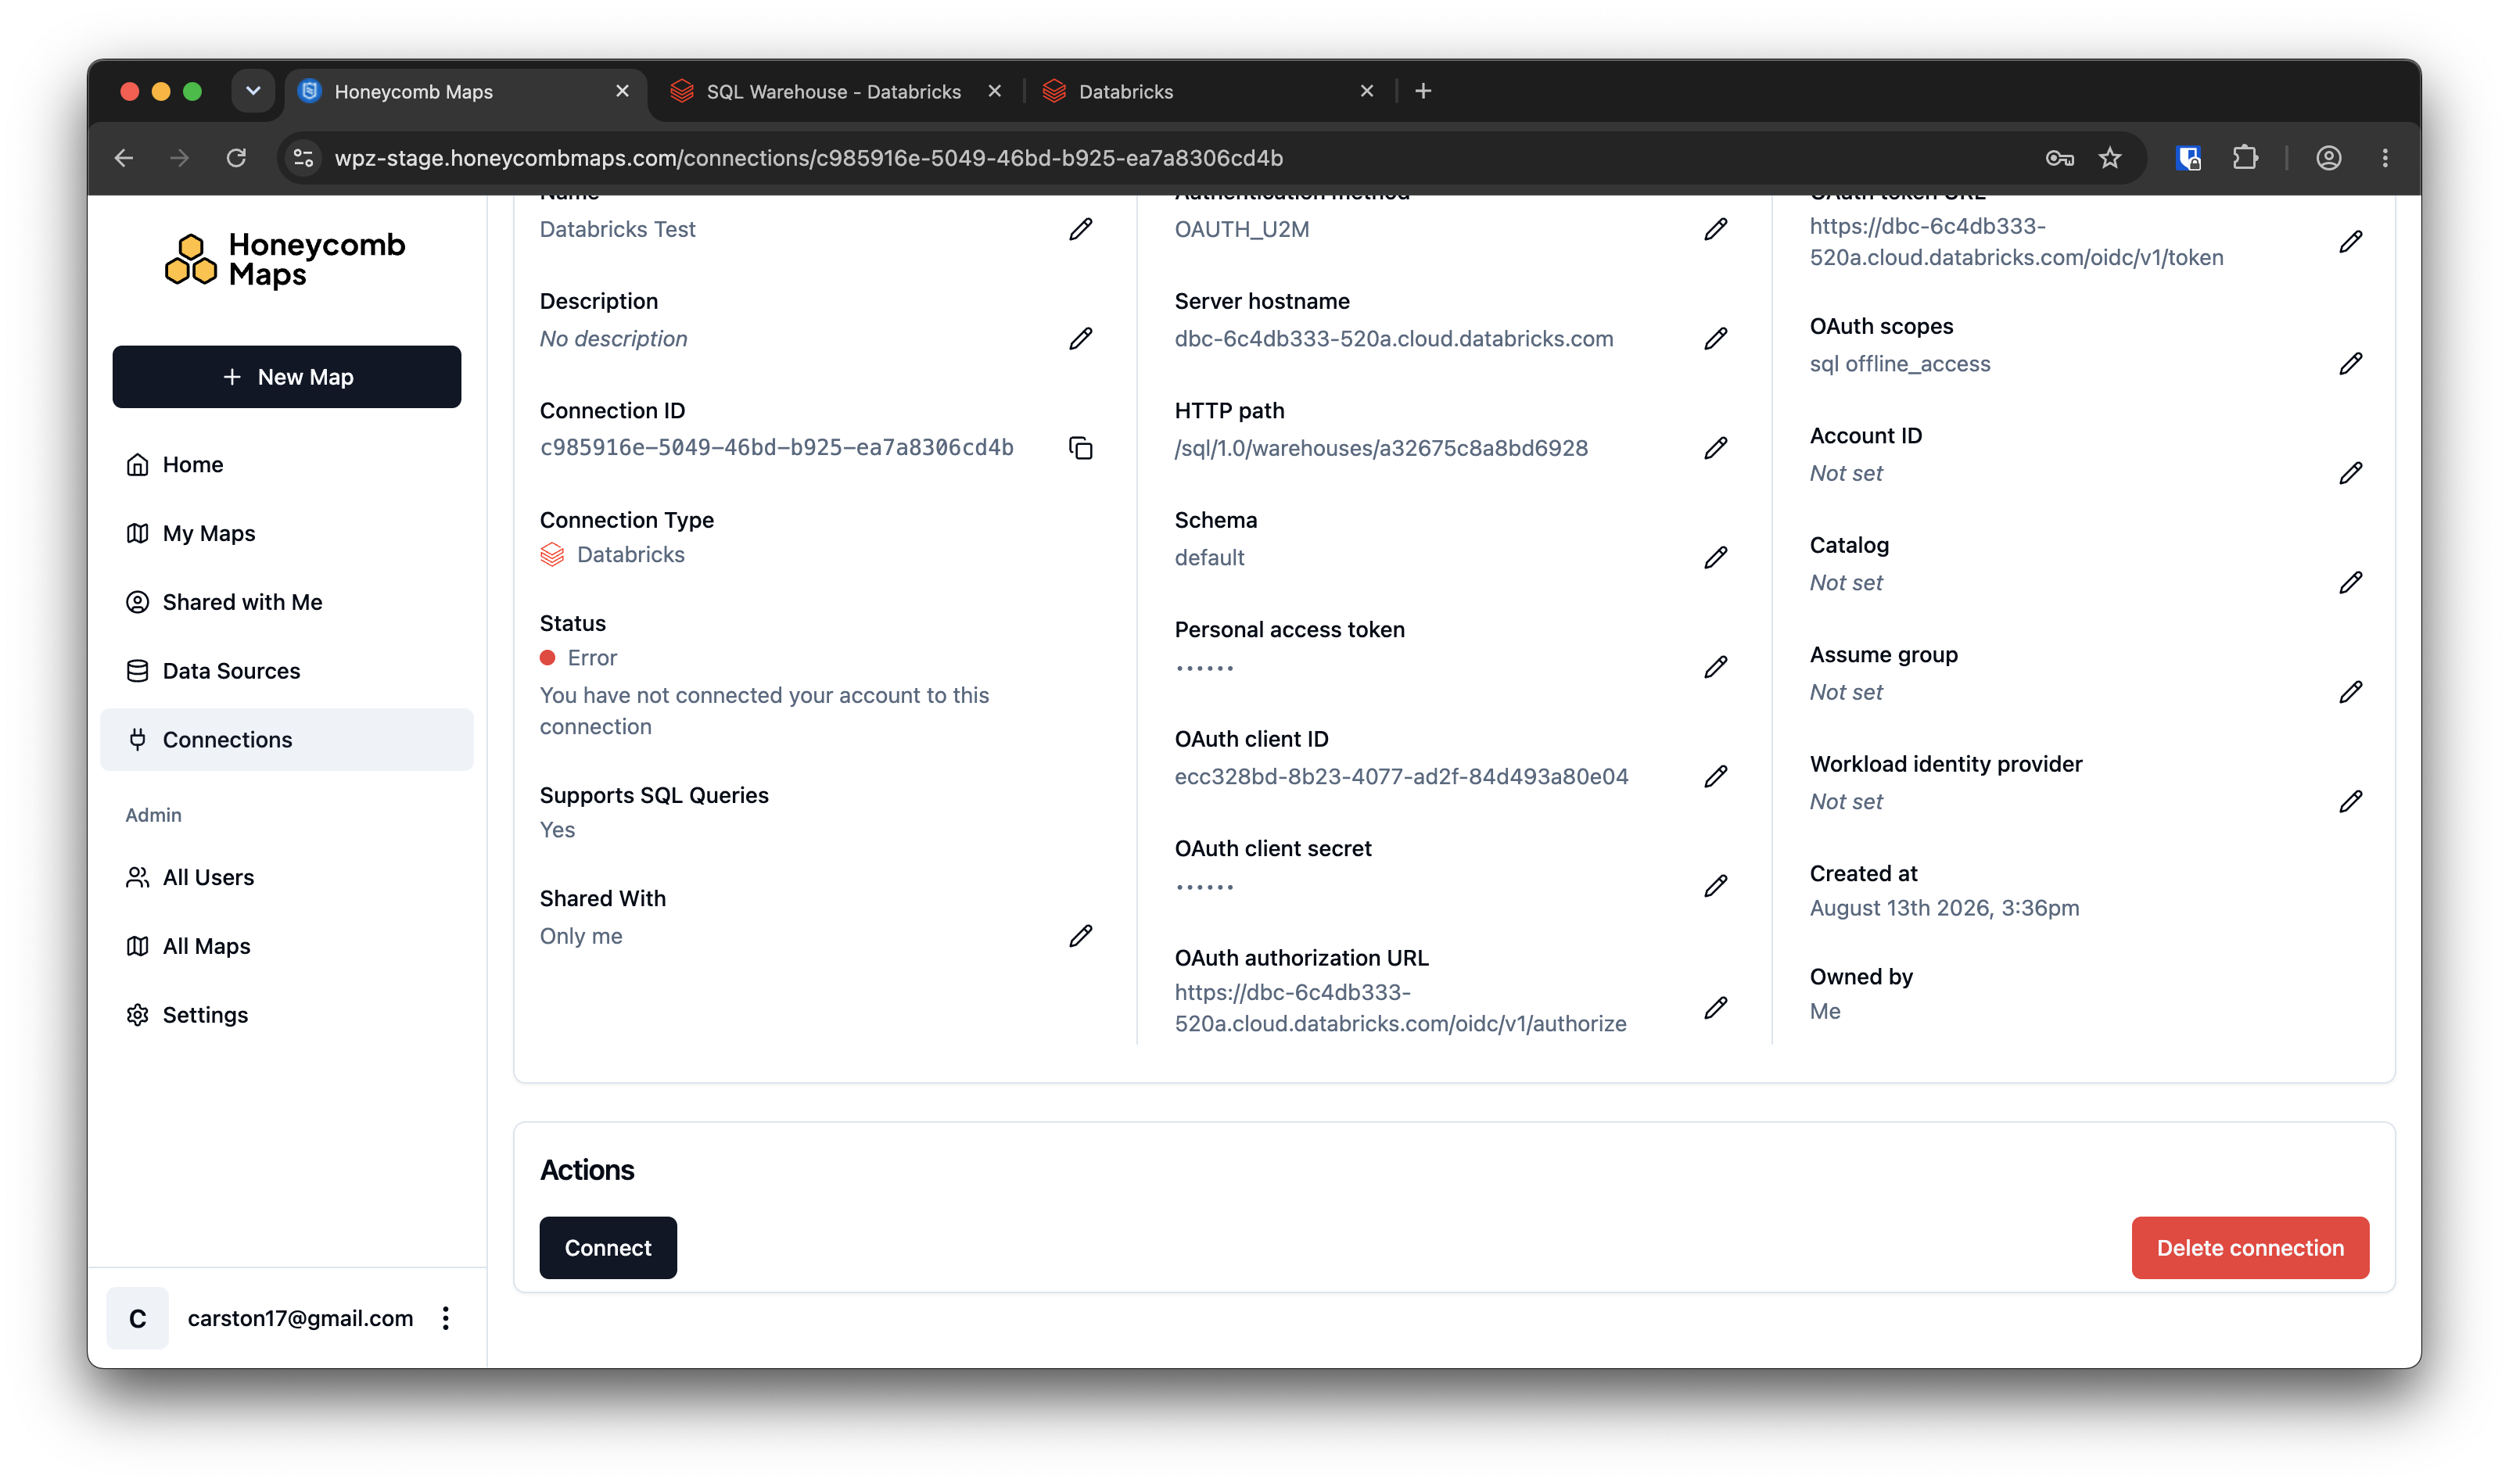
You should now see the connection details page. Notice that the Status says 'Error - You have not connected your account to this application'
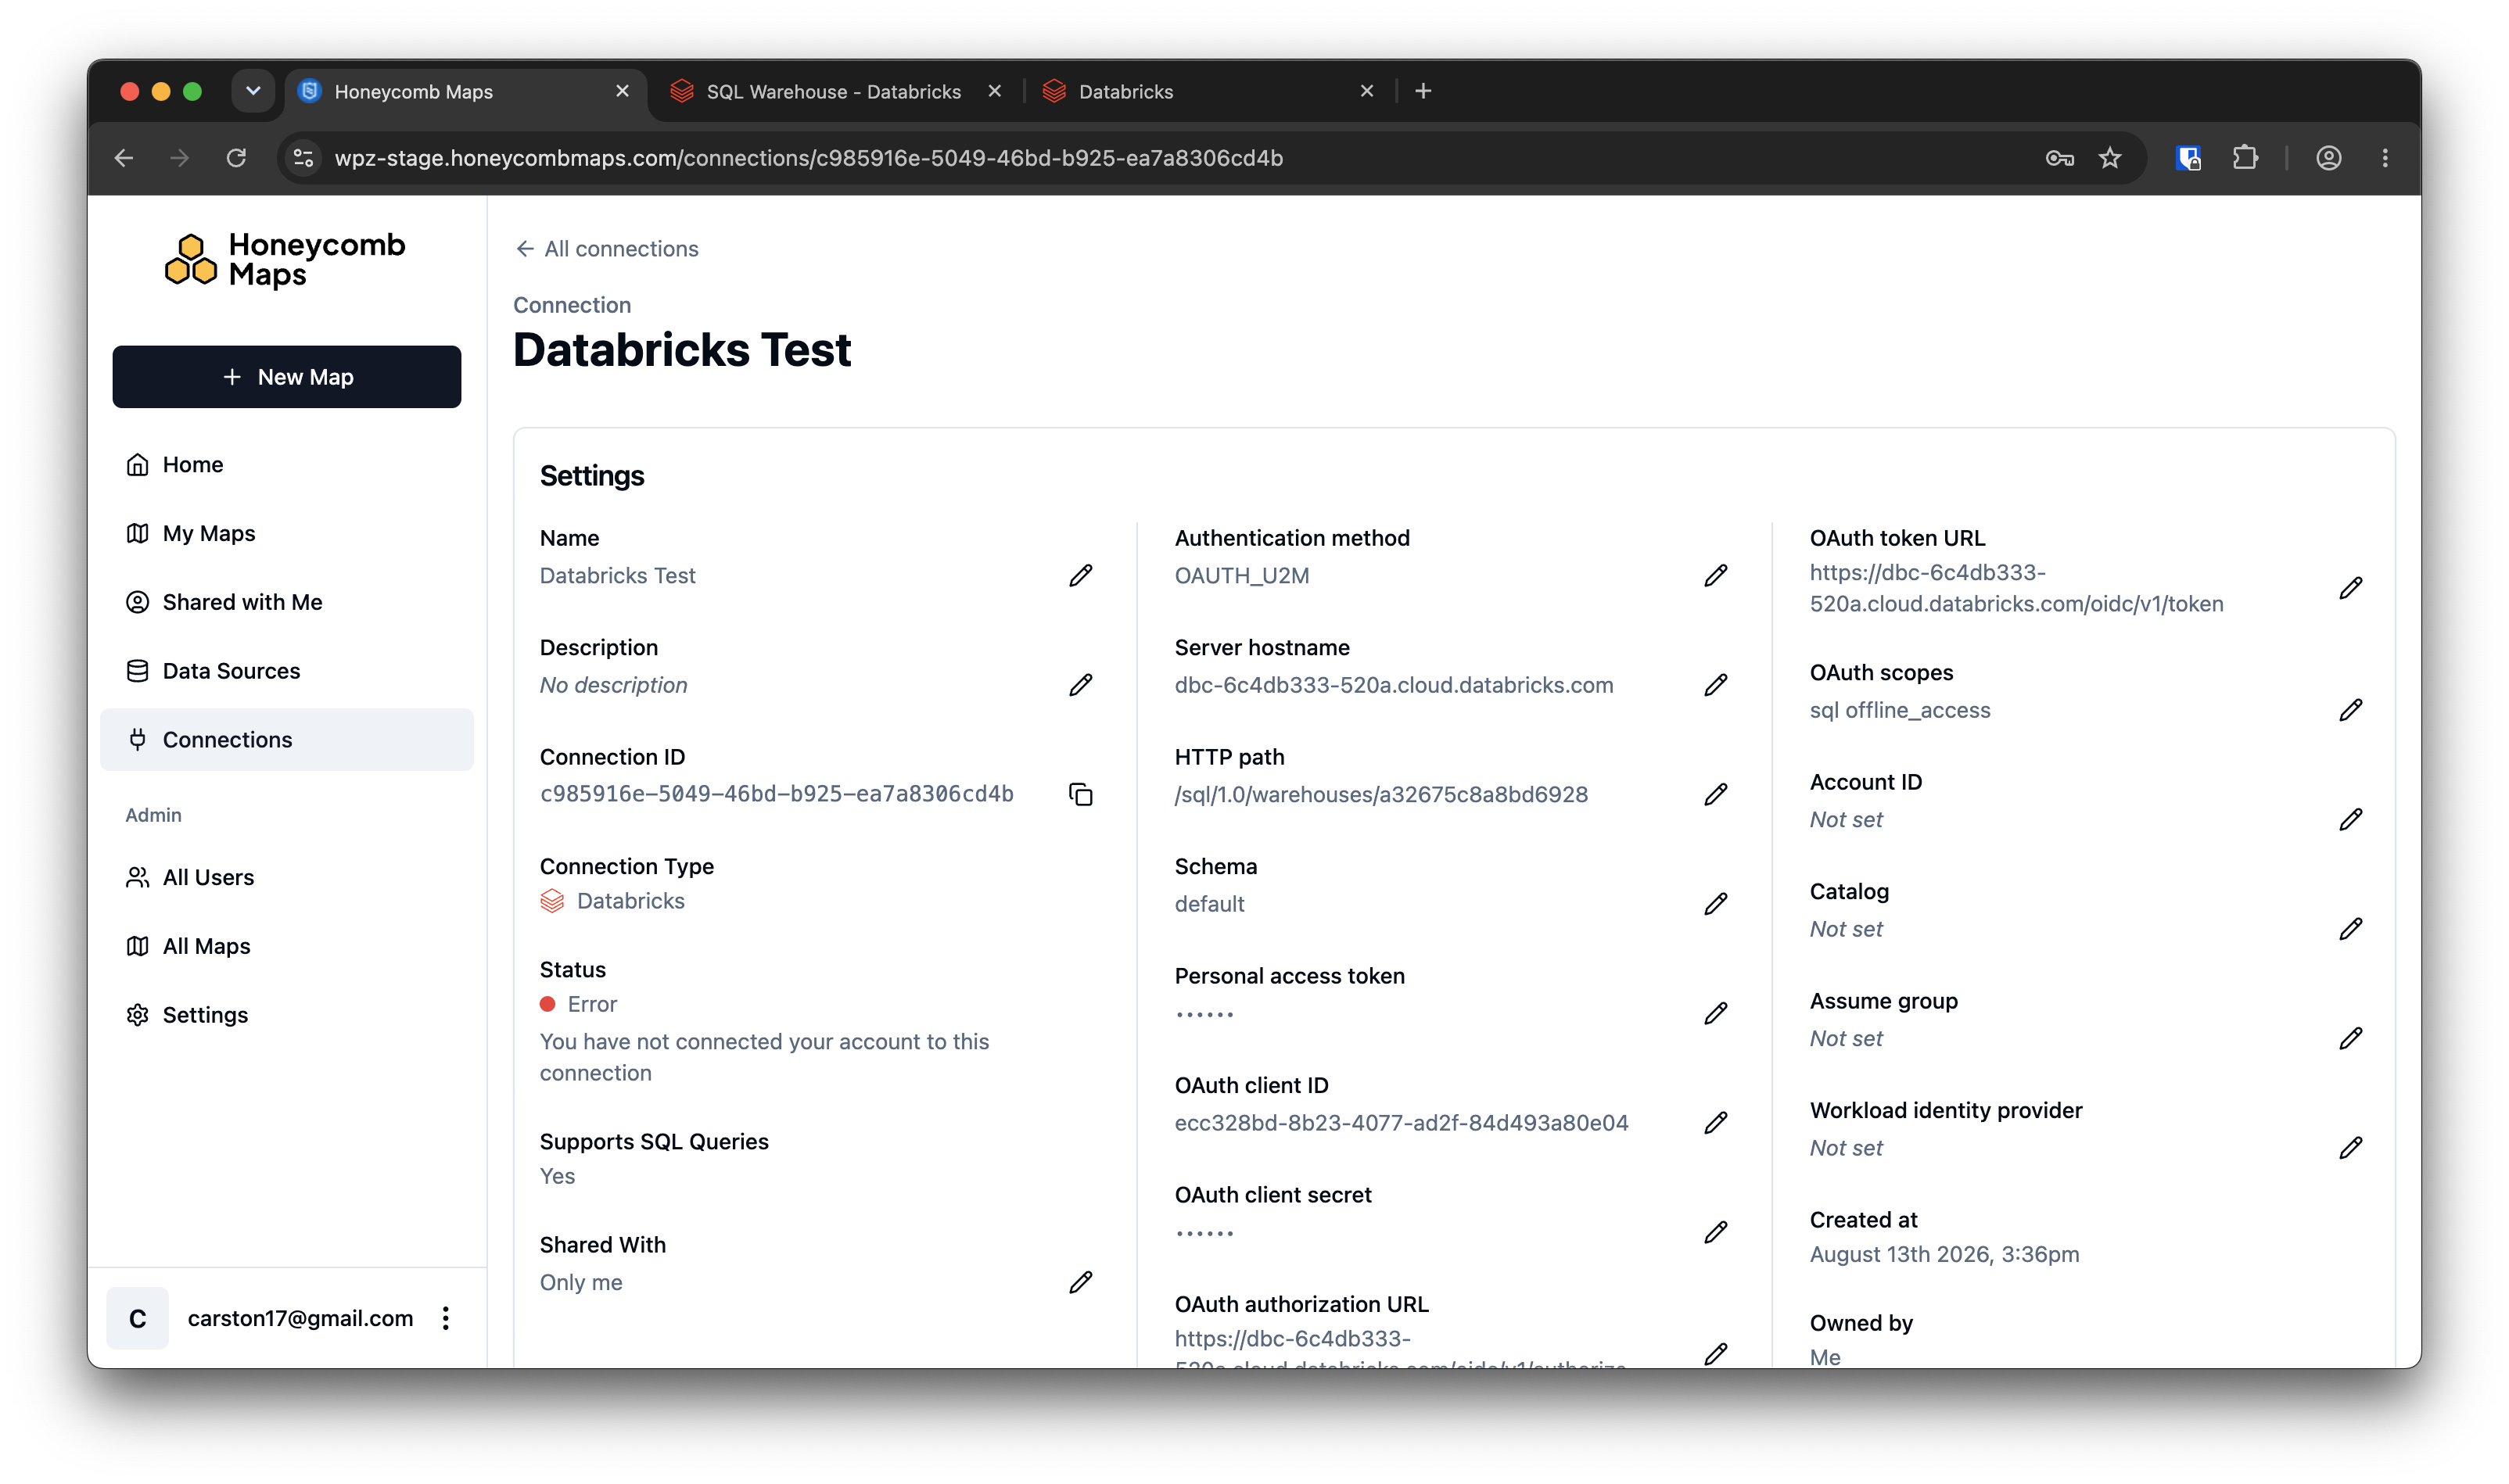
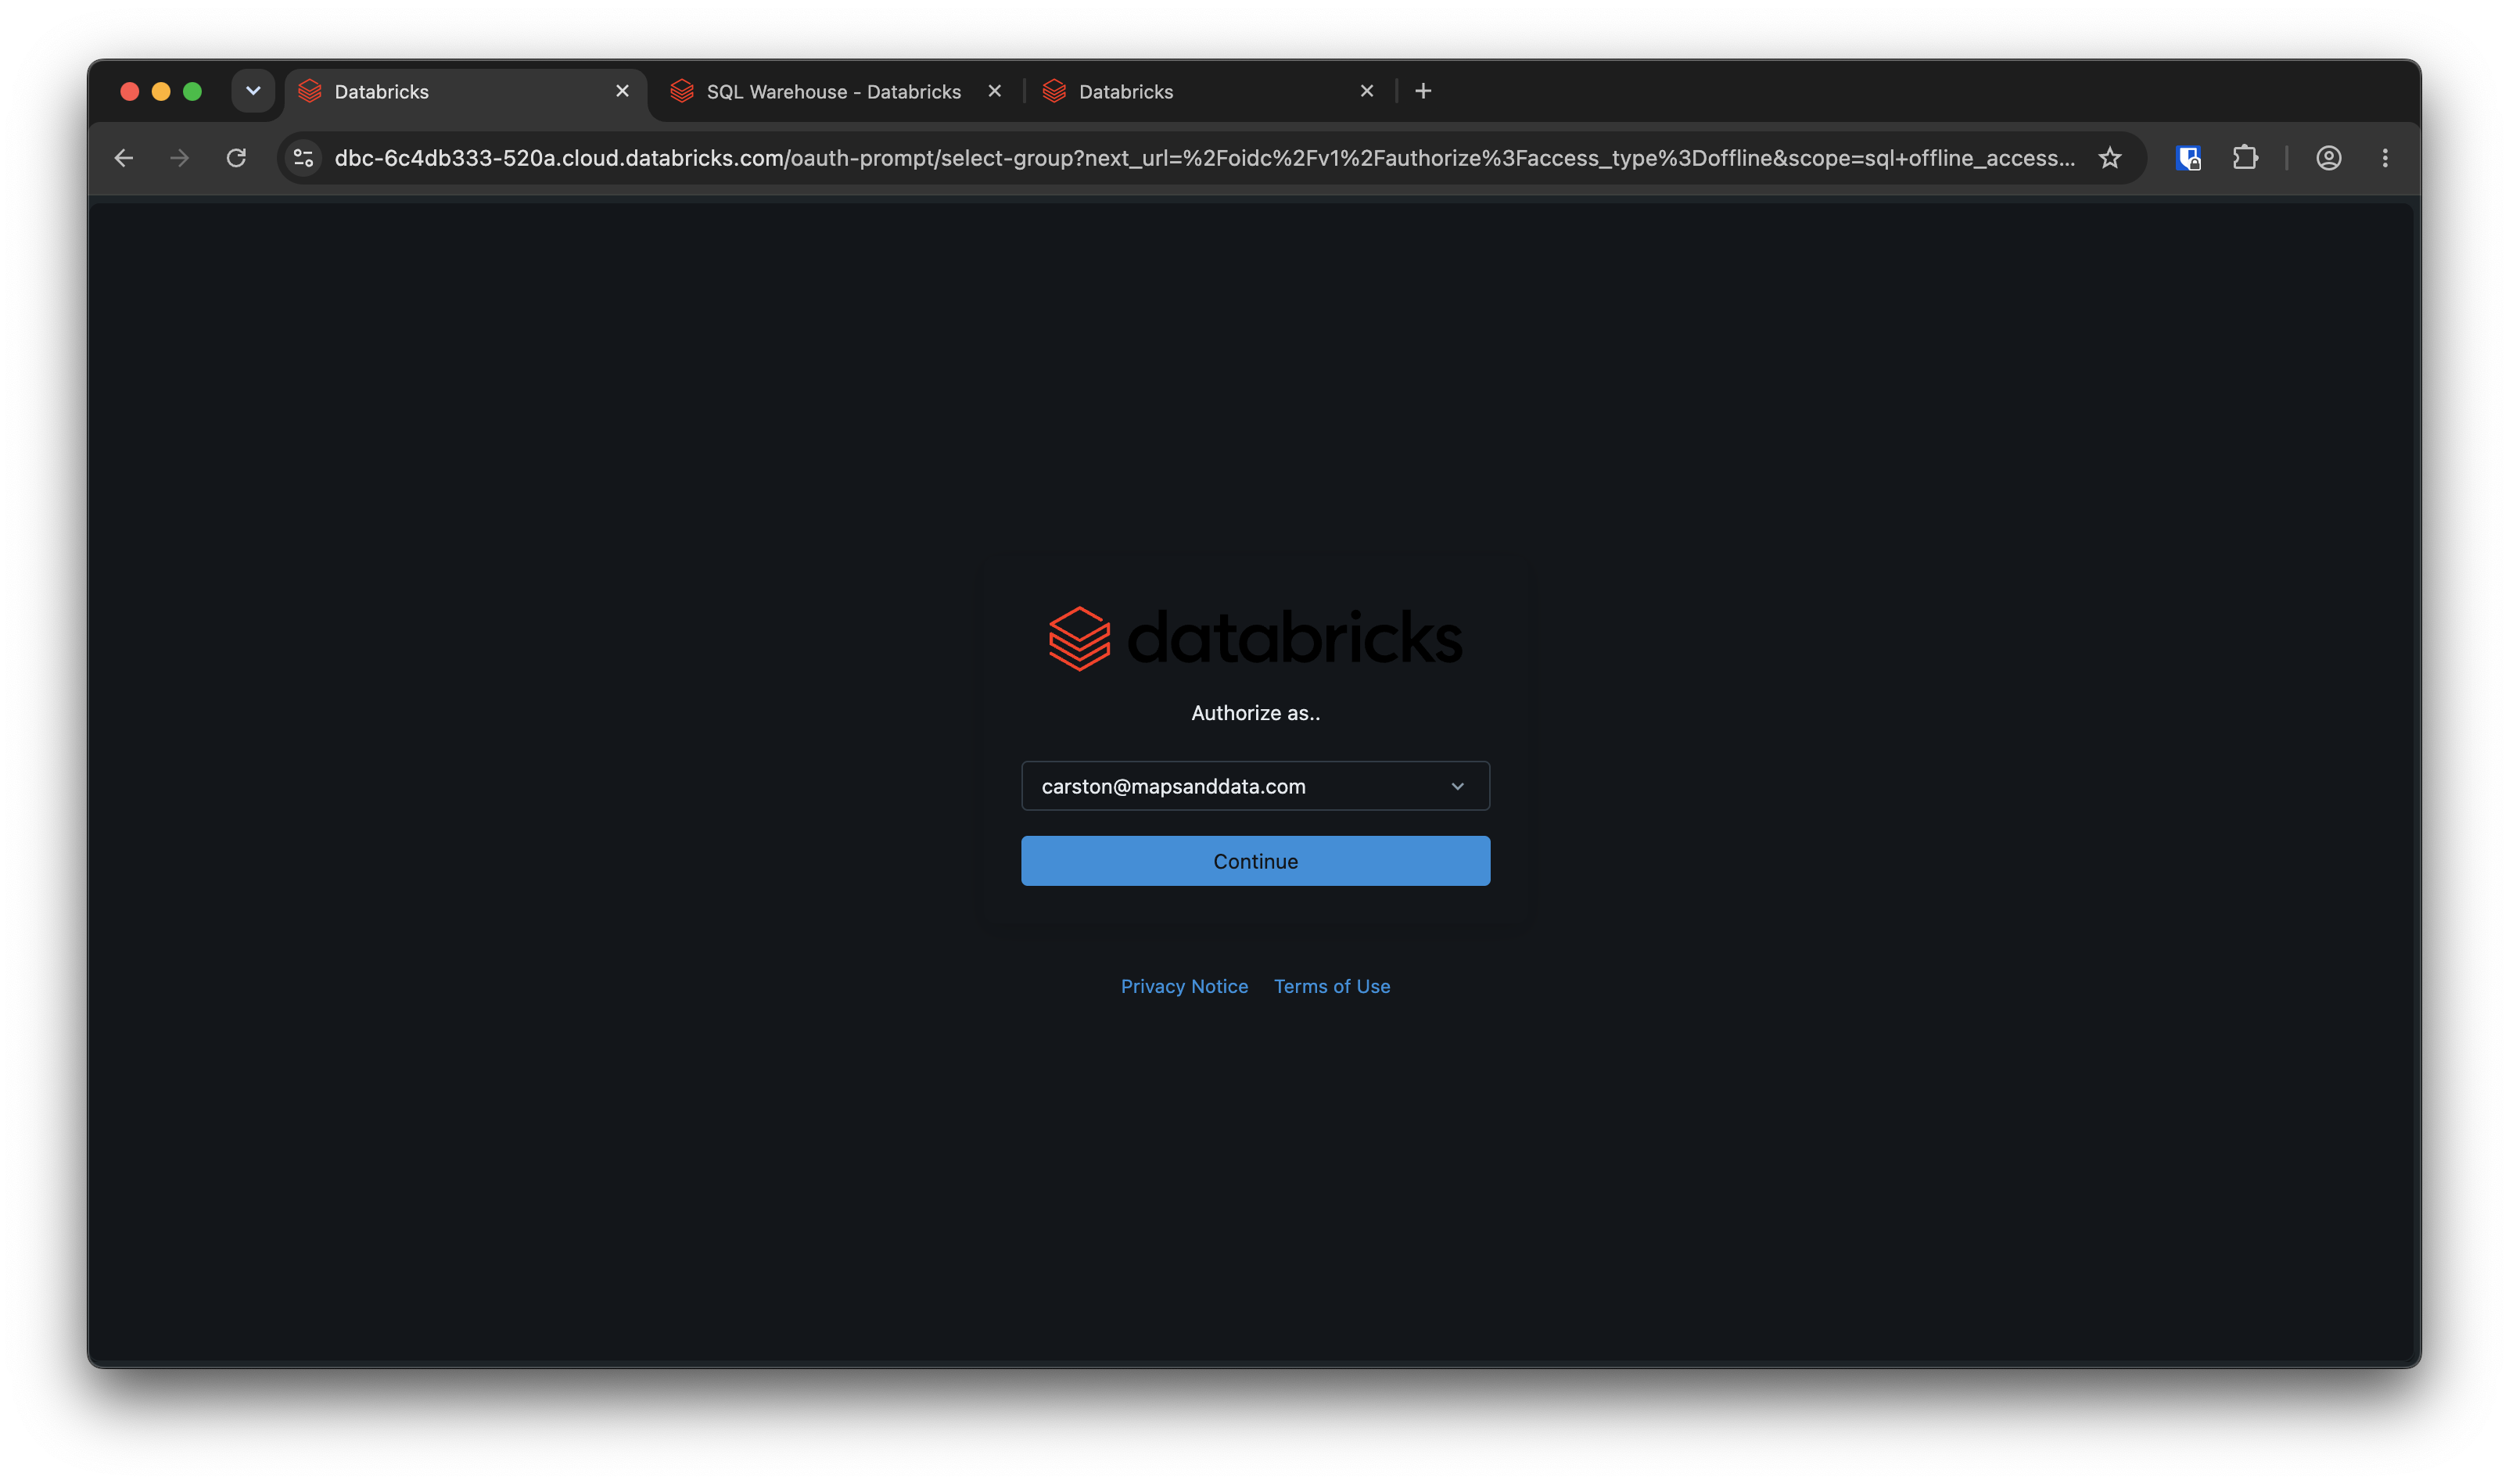
- Scroll down on the connection details page, and click on 'Connect'. This will redirect you to Databricks to log into your account. Ensure you are logged into Databricks with the user account that you want to connect to Honeycomb Maps (it must be in the Databricks account used earlier).
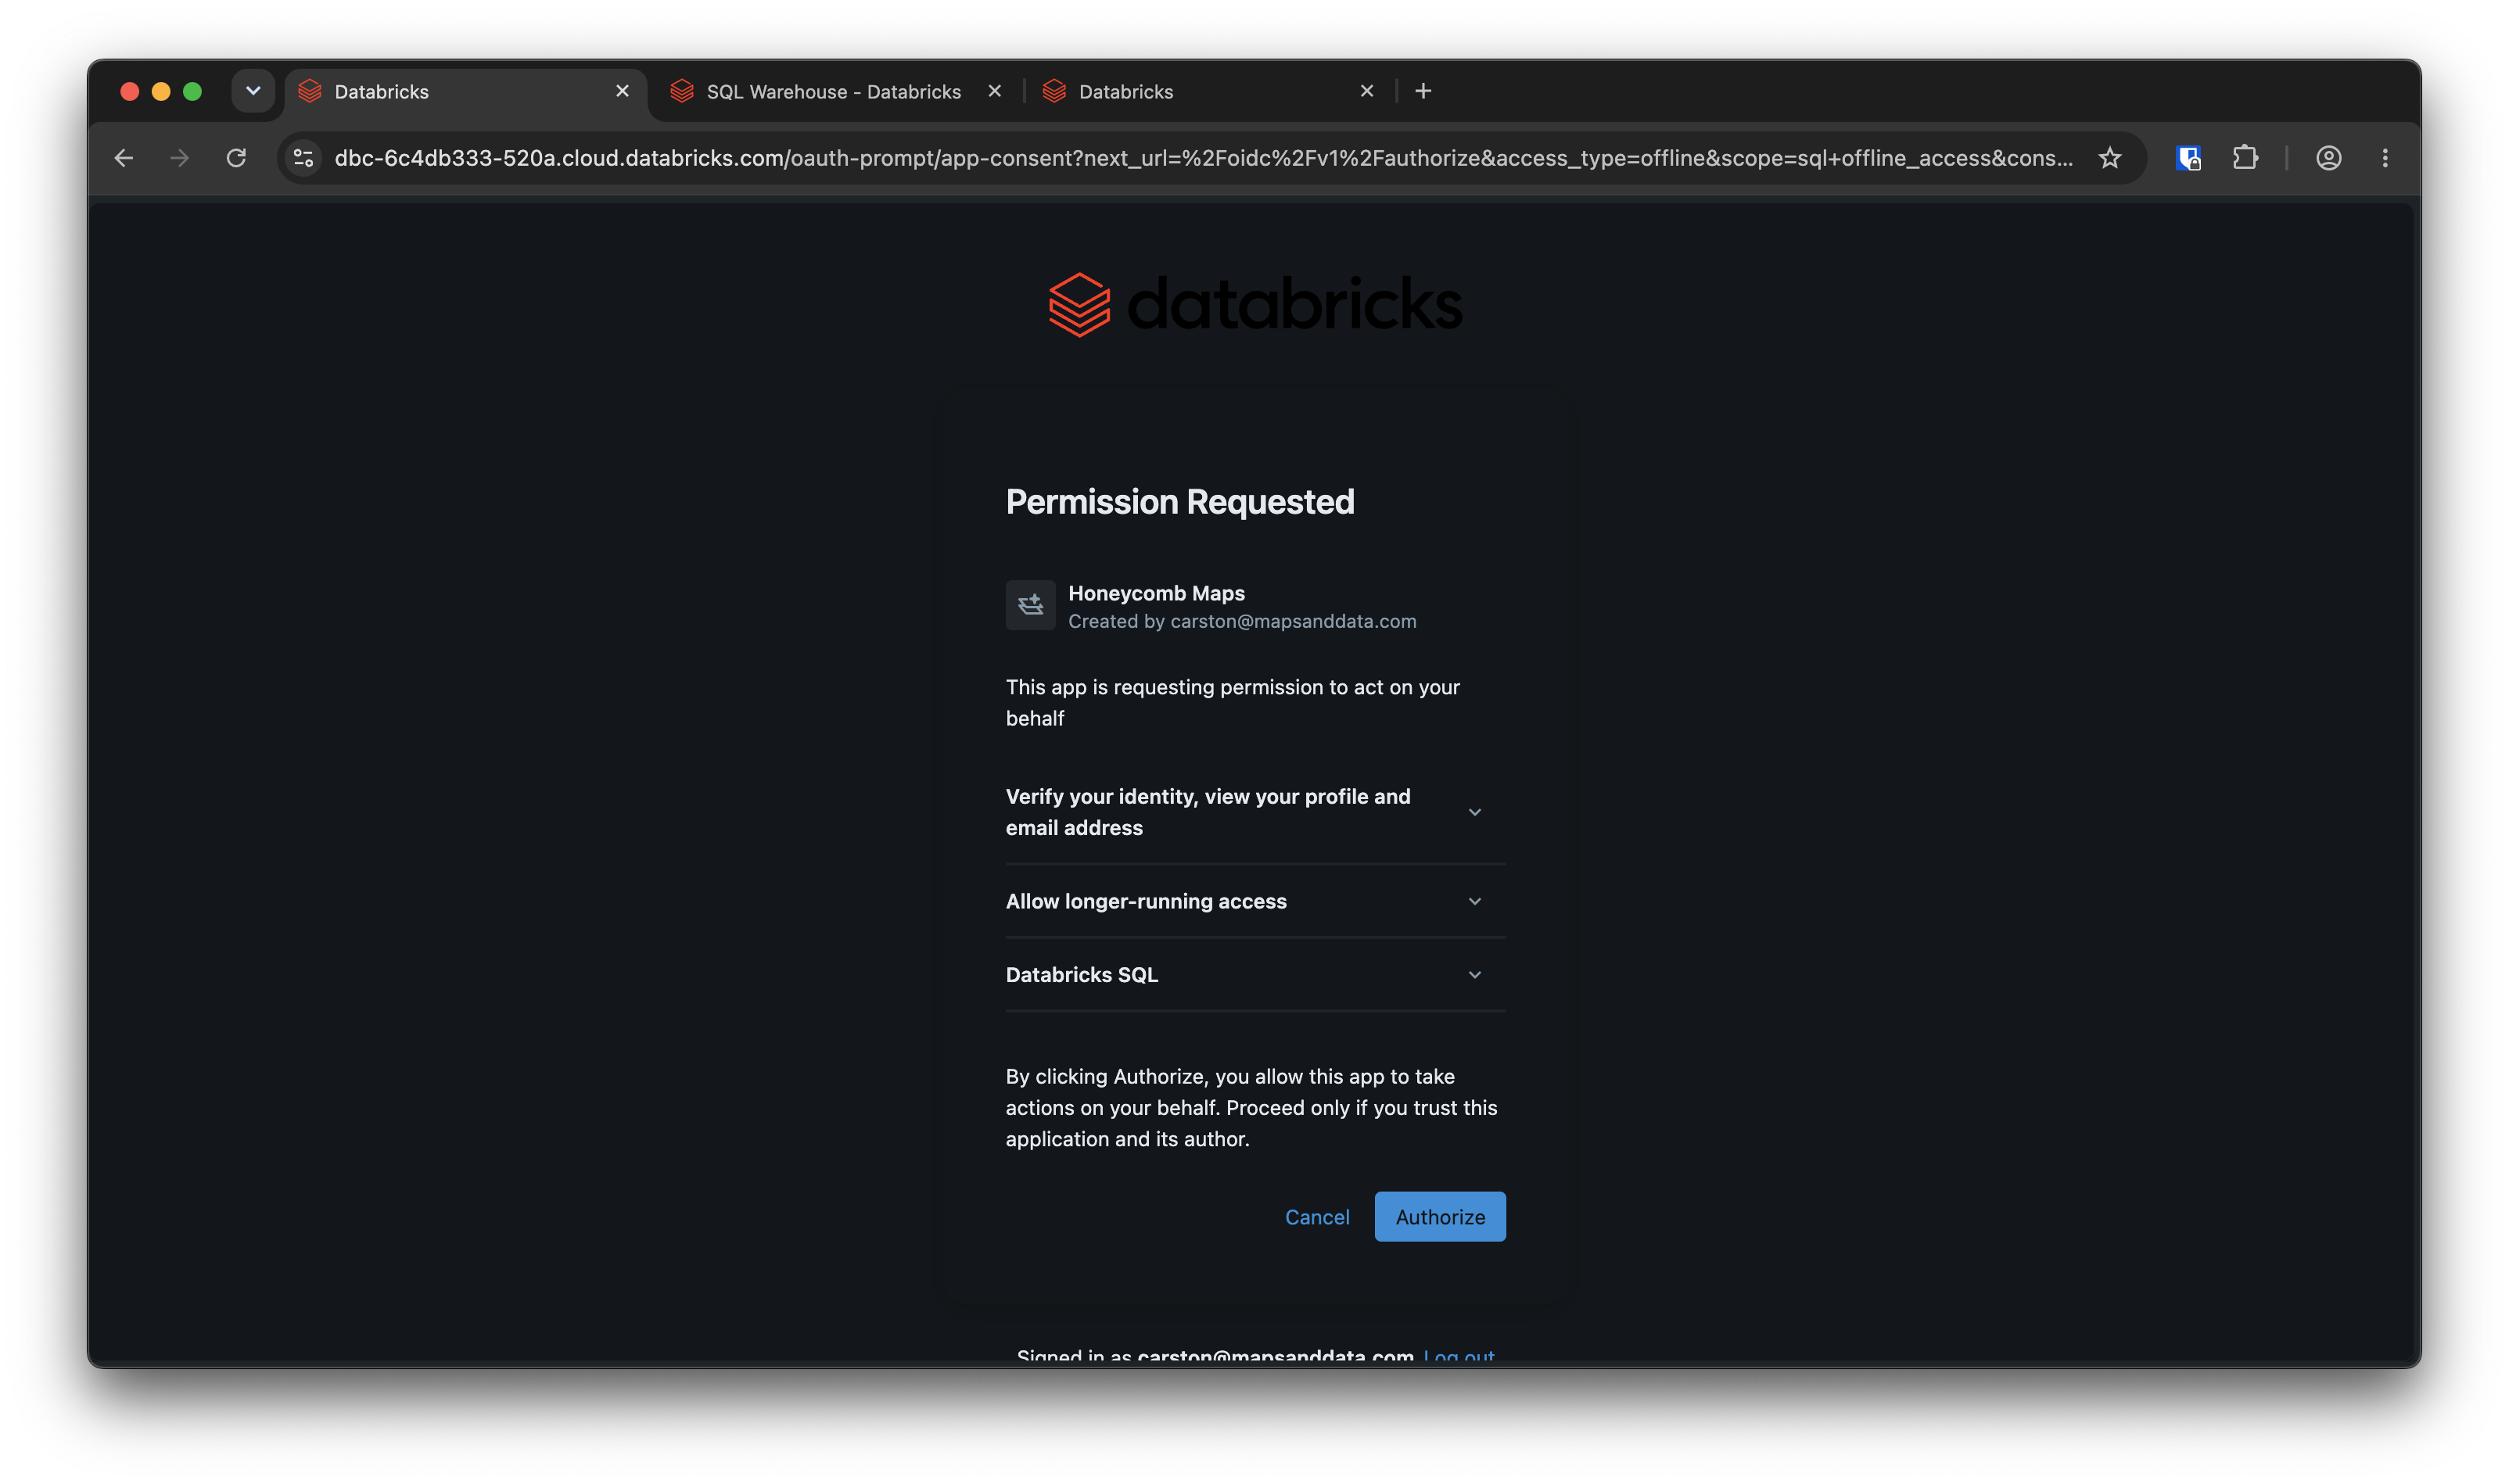
- Follow the Databricks flow. Review the permissions, and select 'Authorize'.
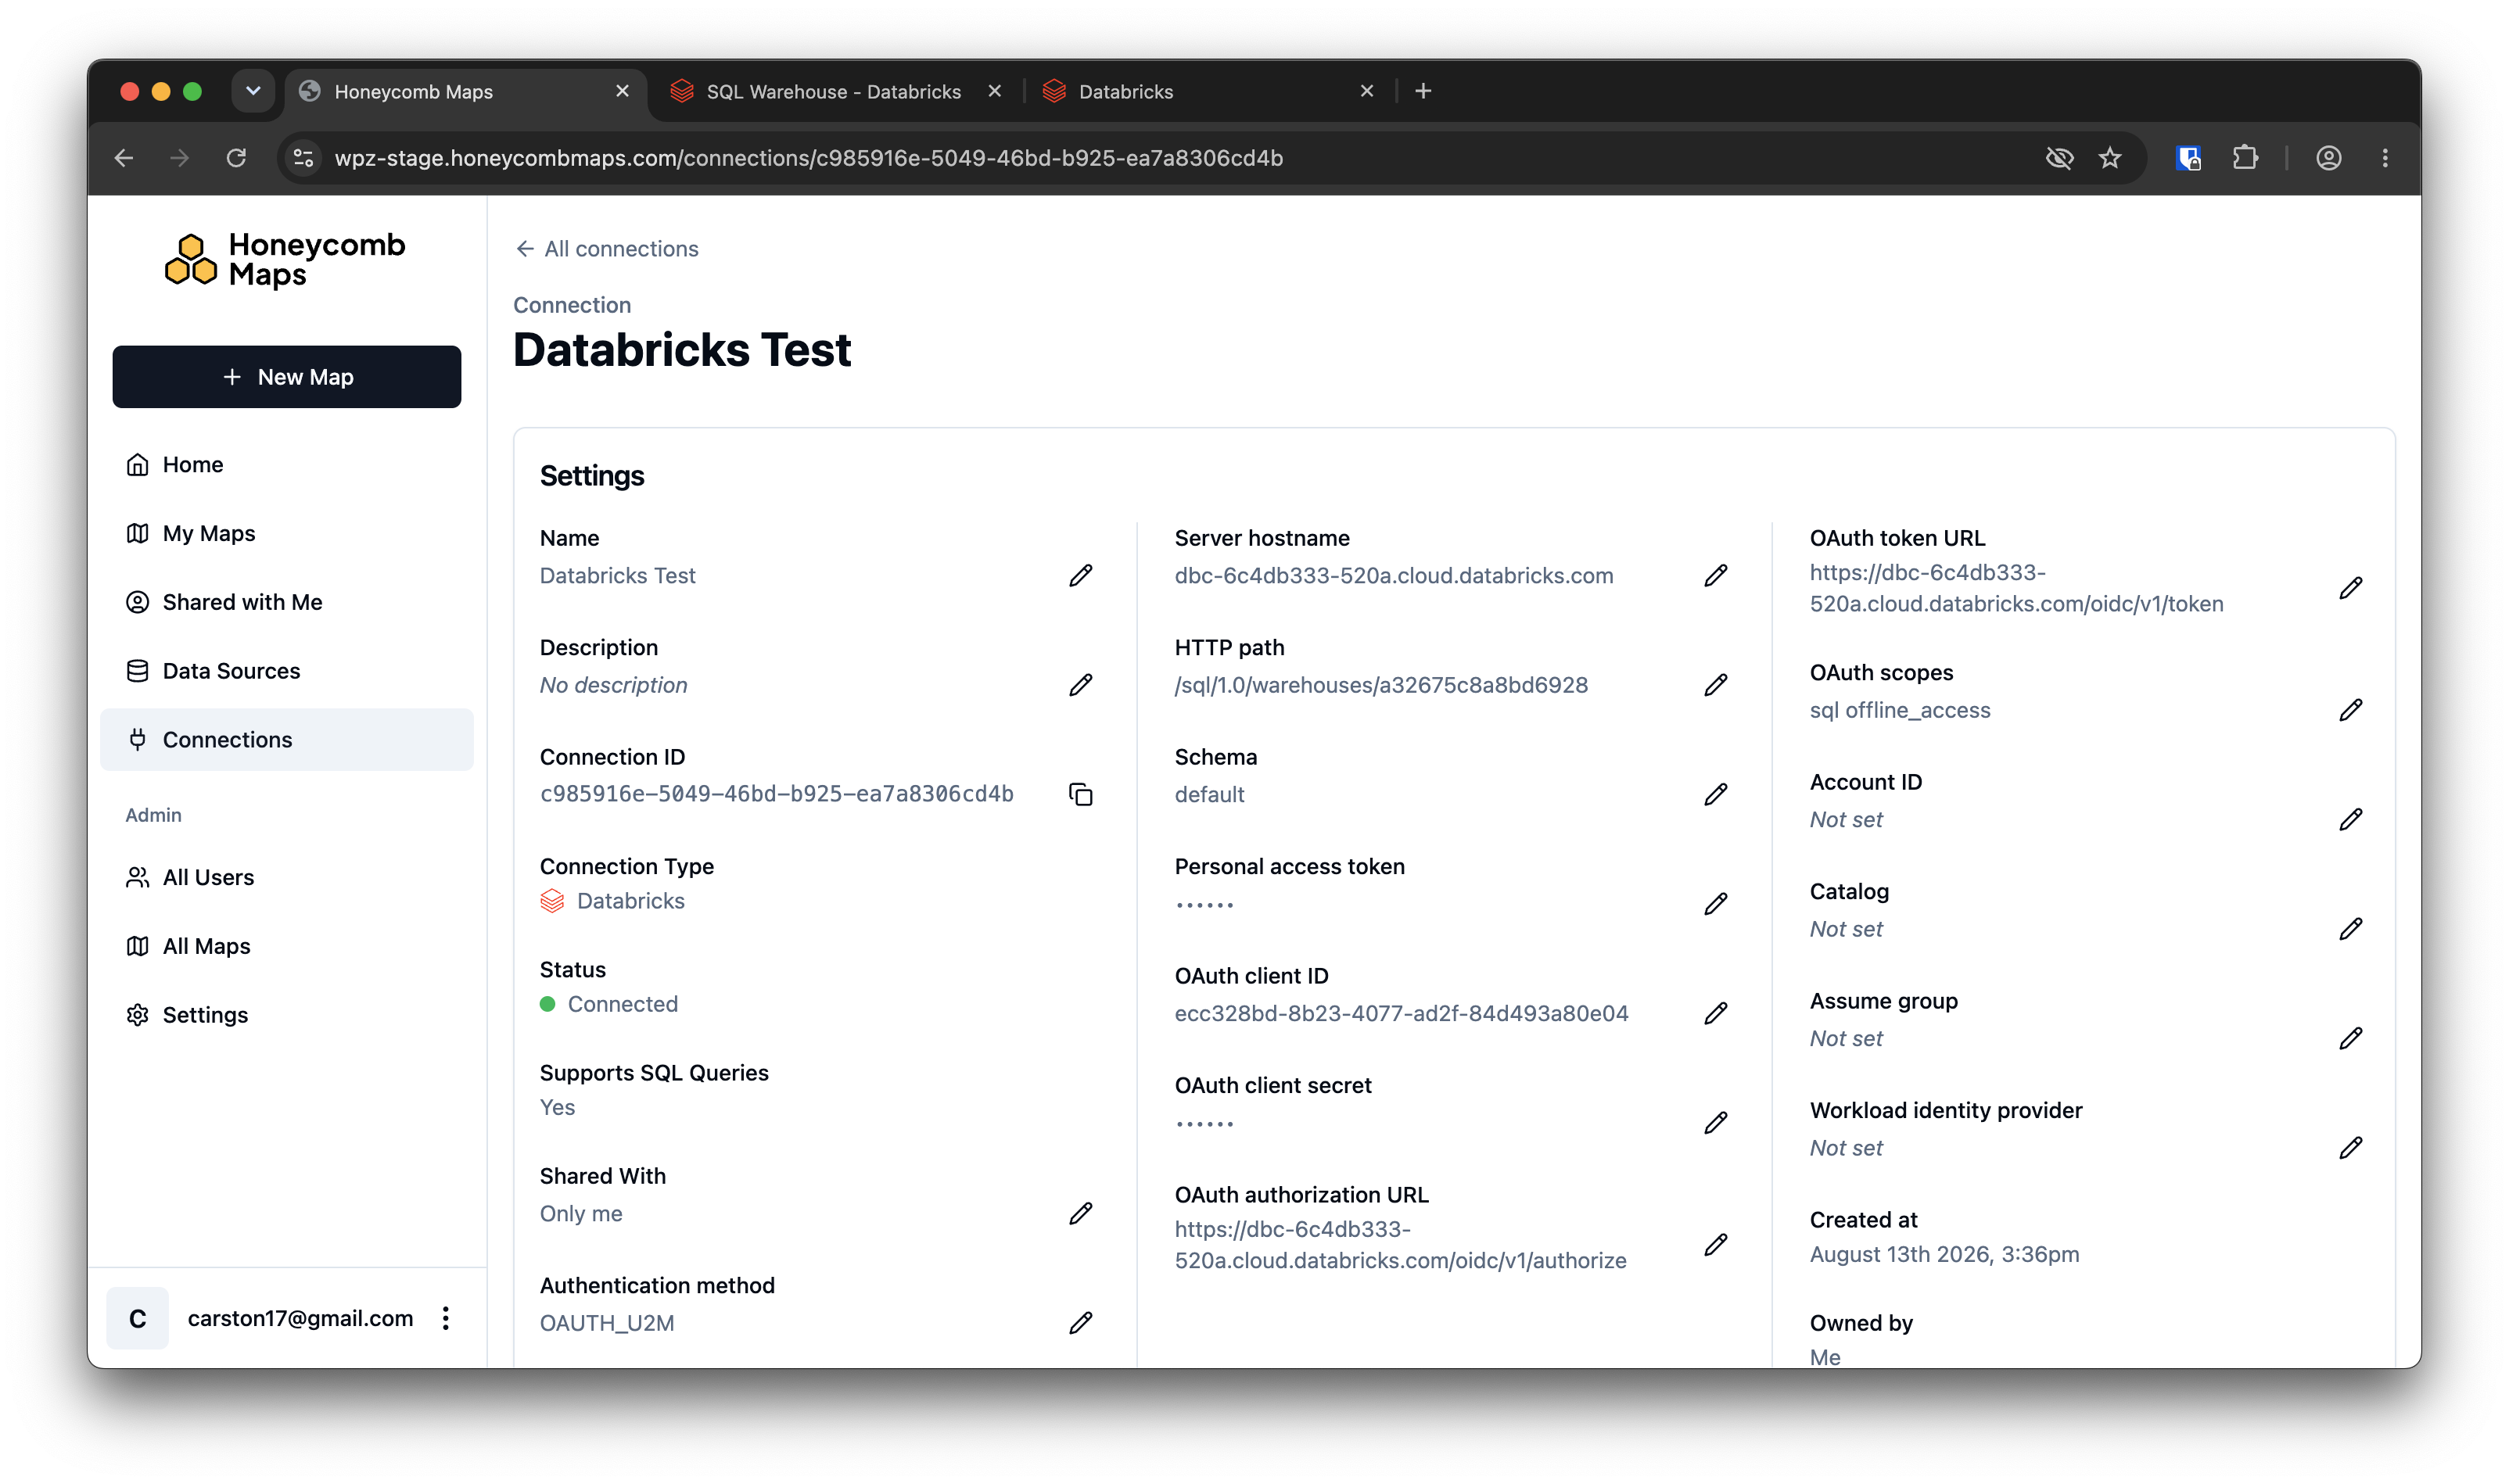
- You will be redirected back to Honeycomb Maps. If you click on the connection now, it's status should be 'Connected'. You have now connected Honeycomb Maps to your Databricks account!
Sharing maps with another user, or entire organization
Honeycomb Maps allows for sharing maps within an organization, or with a public sharing link.
When sharing within an organization, maps can be shared with a specific user or with the entire organization. When sharing a map, it can be shared with either 'View' permission, or with 'Edit' permission.
Connections and data sources follow the same sharing system as maps. In order to view a map that uses a data source, the map, data source, and the connection all have to be shared with the map viewer.
Connections are often shared with an entire organization. If a connection uses OAuth, each user will still access data using their own identity.
To configure sharing, click on the three dots on the right of a map on the homepage. Then in the drop-down menu click on 'Control sharing'. This will open a sharing dialog.
To share within an organization, click on the 'People' tab on the top of the sharing dialog.
To share with a specific person, enter their email address. Note that the user needs to have already signed into Honeycomb Maps, otherwise the application will show an error.
Maps can also be shared with 'All Users', using the button on the bottom right of the sharing dialog. This will make the map available to anyone within the organization, including users who create an account after the map has been shared.
Fetching data from Databricks using Unity Catalog permissions
In enterprise settings, access to sensitive data is often governed by permissions defined in Unity Catalog. For example, salespeople might only be able to see prospects within their defined sales territory.
When presenting data with visualization tools, it's important that this governance model is maintained. Honeycomb Maps natively supports data governance with Unity Catalog, by accessing data with the identity of the end user.
Scenario: Map shared with someone without data permissions
User A creates a map in Honeycomb Maps that fetches data from Databricks (using a connection configured with U2M OAuth). User A shares the map, data source, and connection with User B from within Honeycomb Maps.
User B does not have permissions to the underlying table in Databricks.
First, User B is asked to log into Databricks. This uses a standard OAuth flow to establish the identity of User B.
Second, Honeycomb Maps attempts to load the data for the map, on behalf of User B. However, because user B does not have permissions to the underlying table, Databricks does not return any data. Honeycomb Maps shows that the data source could not be loaded.
Result: User B cannot access any data that they could not access already.