
Connecting Honeycomb Maps to Snowflake with Snowflake OAuth
Honeycomb Maps supports connecting to Snowflake using Snowflake OAuth. Snowflake OAuth is a user-based authentication method, meaning it requires the identity of the end user. That means that maps that use data from Snowflake OAuth connections can't be shared publicly. However, maps can be shared within an organization (business plans only), with each user querying Snowflake as their own identity.
You can read more about Snowflake OAuth on Snowflake's documentation page: https://docs.snowflake.com/en/user-guide/oauth-custom
There are two steps to setting up a Snowflake OAuth connection:
- Create an OAuth integration in Snowflake
- Set up a connection in Honeycomb Maps
In Snowflake, create a Snowflake OAuth integration using CREATE SECURITY INTEGRATION.
CREATE OR REPLACE SECURITY INTEGRATION OAUTH_HONEYCOMB_MAPS_INTEGRATION
  TYPE = OAUTH
  OAUTH_CLIENT = CUSTOM
  OAUTH_CLIENT_TYPE = 'CONFIDENTIAL'
  OAUTH_REDIRECT_URI = 'https://app.honeycombmaps.com/api/oauth/callback'
  ENABLED = TRUE
  OAUTH_ENFORCE_PKCE = TRUE
  ALLOWED_ROLES_LIST = ('READ_TEST_DATA') -- Insert the roles that should be able to be used here
  OAUTH_ISSUE_REFRESH_TOKENS = TRUE;

SELECT SYSTEM$SHOW_OAUTH_CLIENT_SECRETS('OAUTH_HONEYCOMB_MAPS_INTEGRATION');
In Honeycomb Maps, create a connection
- Log into Honeycomb Maps at app.honeycombmaps.com, or your custom business URL.
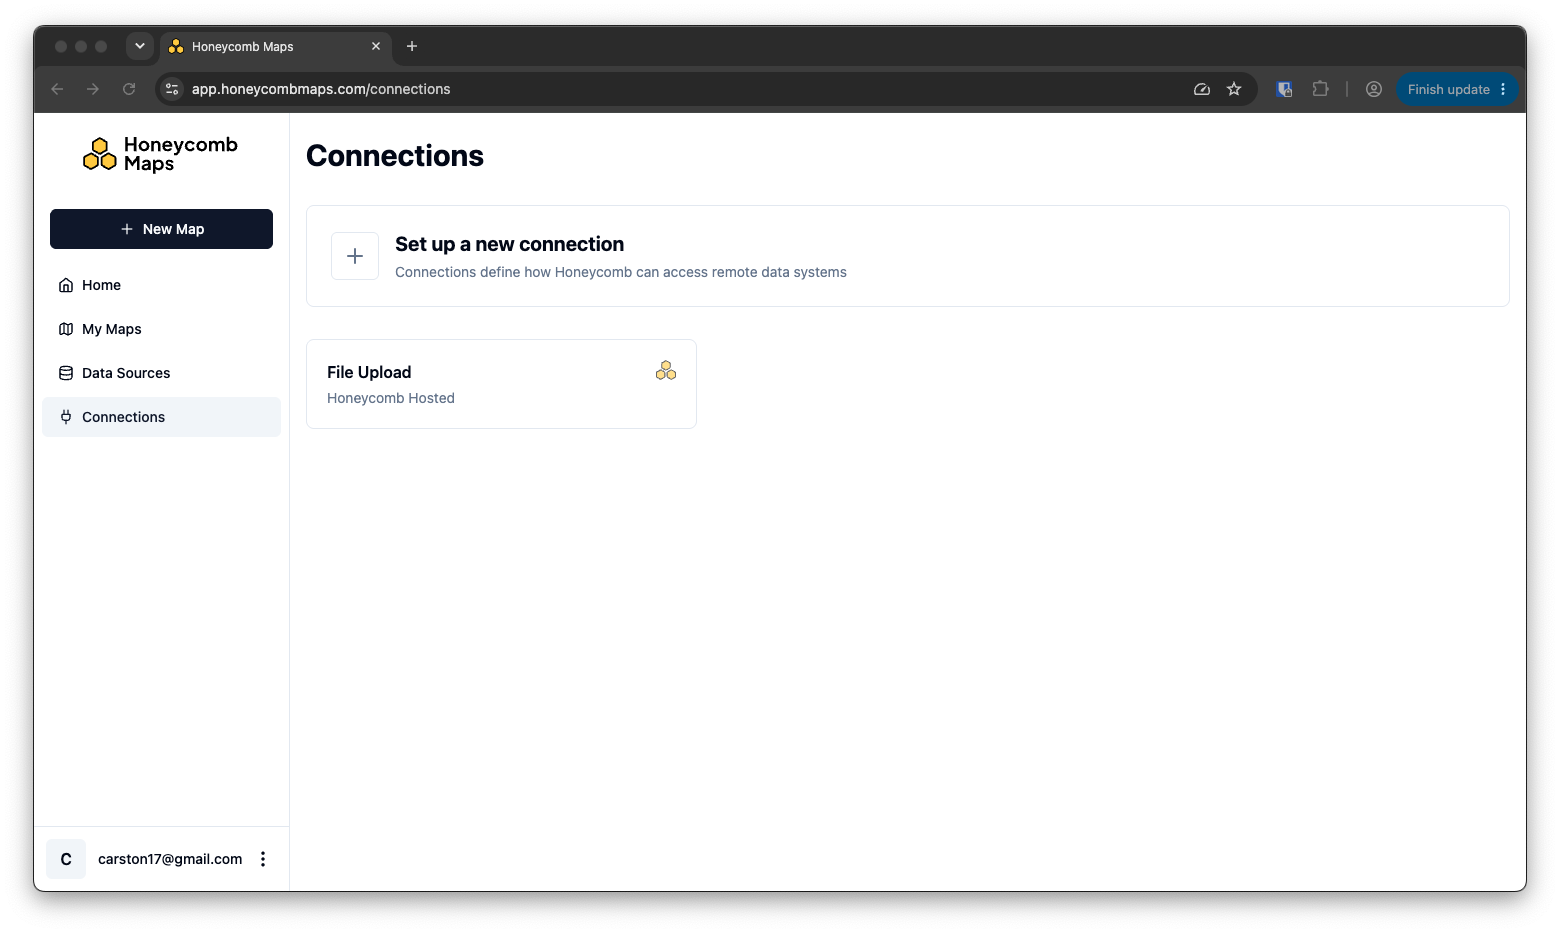
- Go to the 'Connections' page. If you are using the business version of Honeycomb Maps you must be a Honeycomb Maps Admin to configure connections.
- Click on 'Set up a new connection', then click on 'Snowflake'. For 'Authentication method', select 'SNOWFLAKE_OAUTH'.
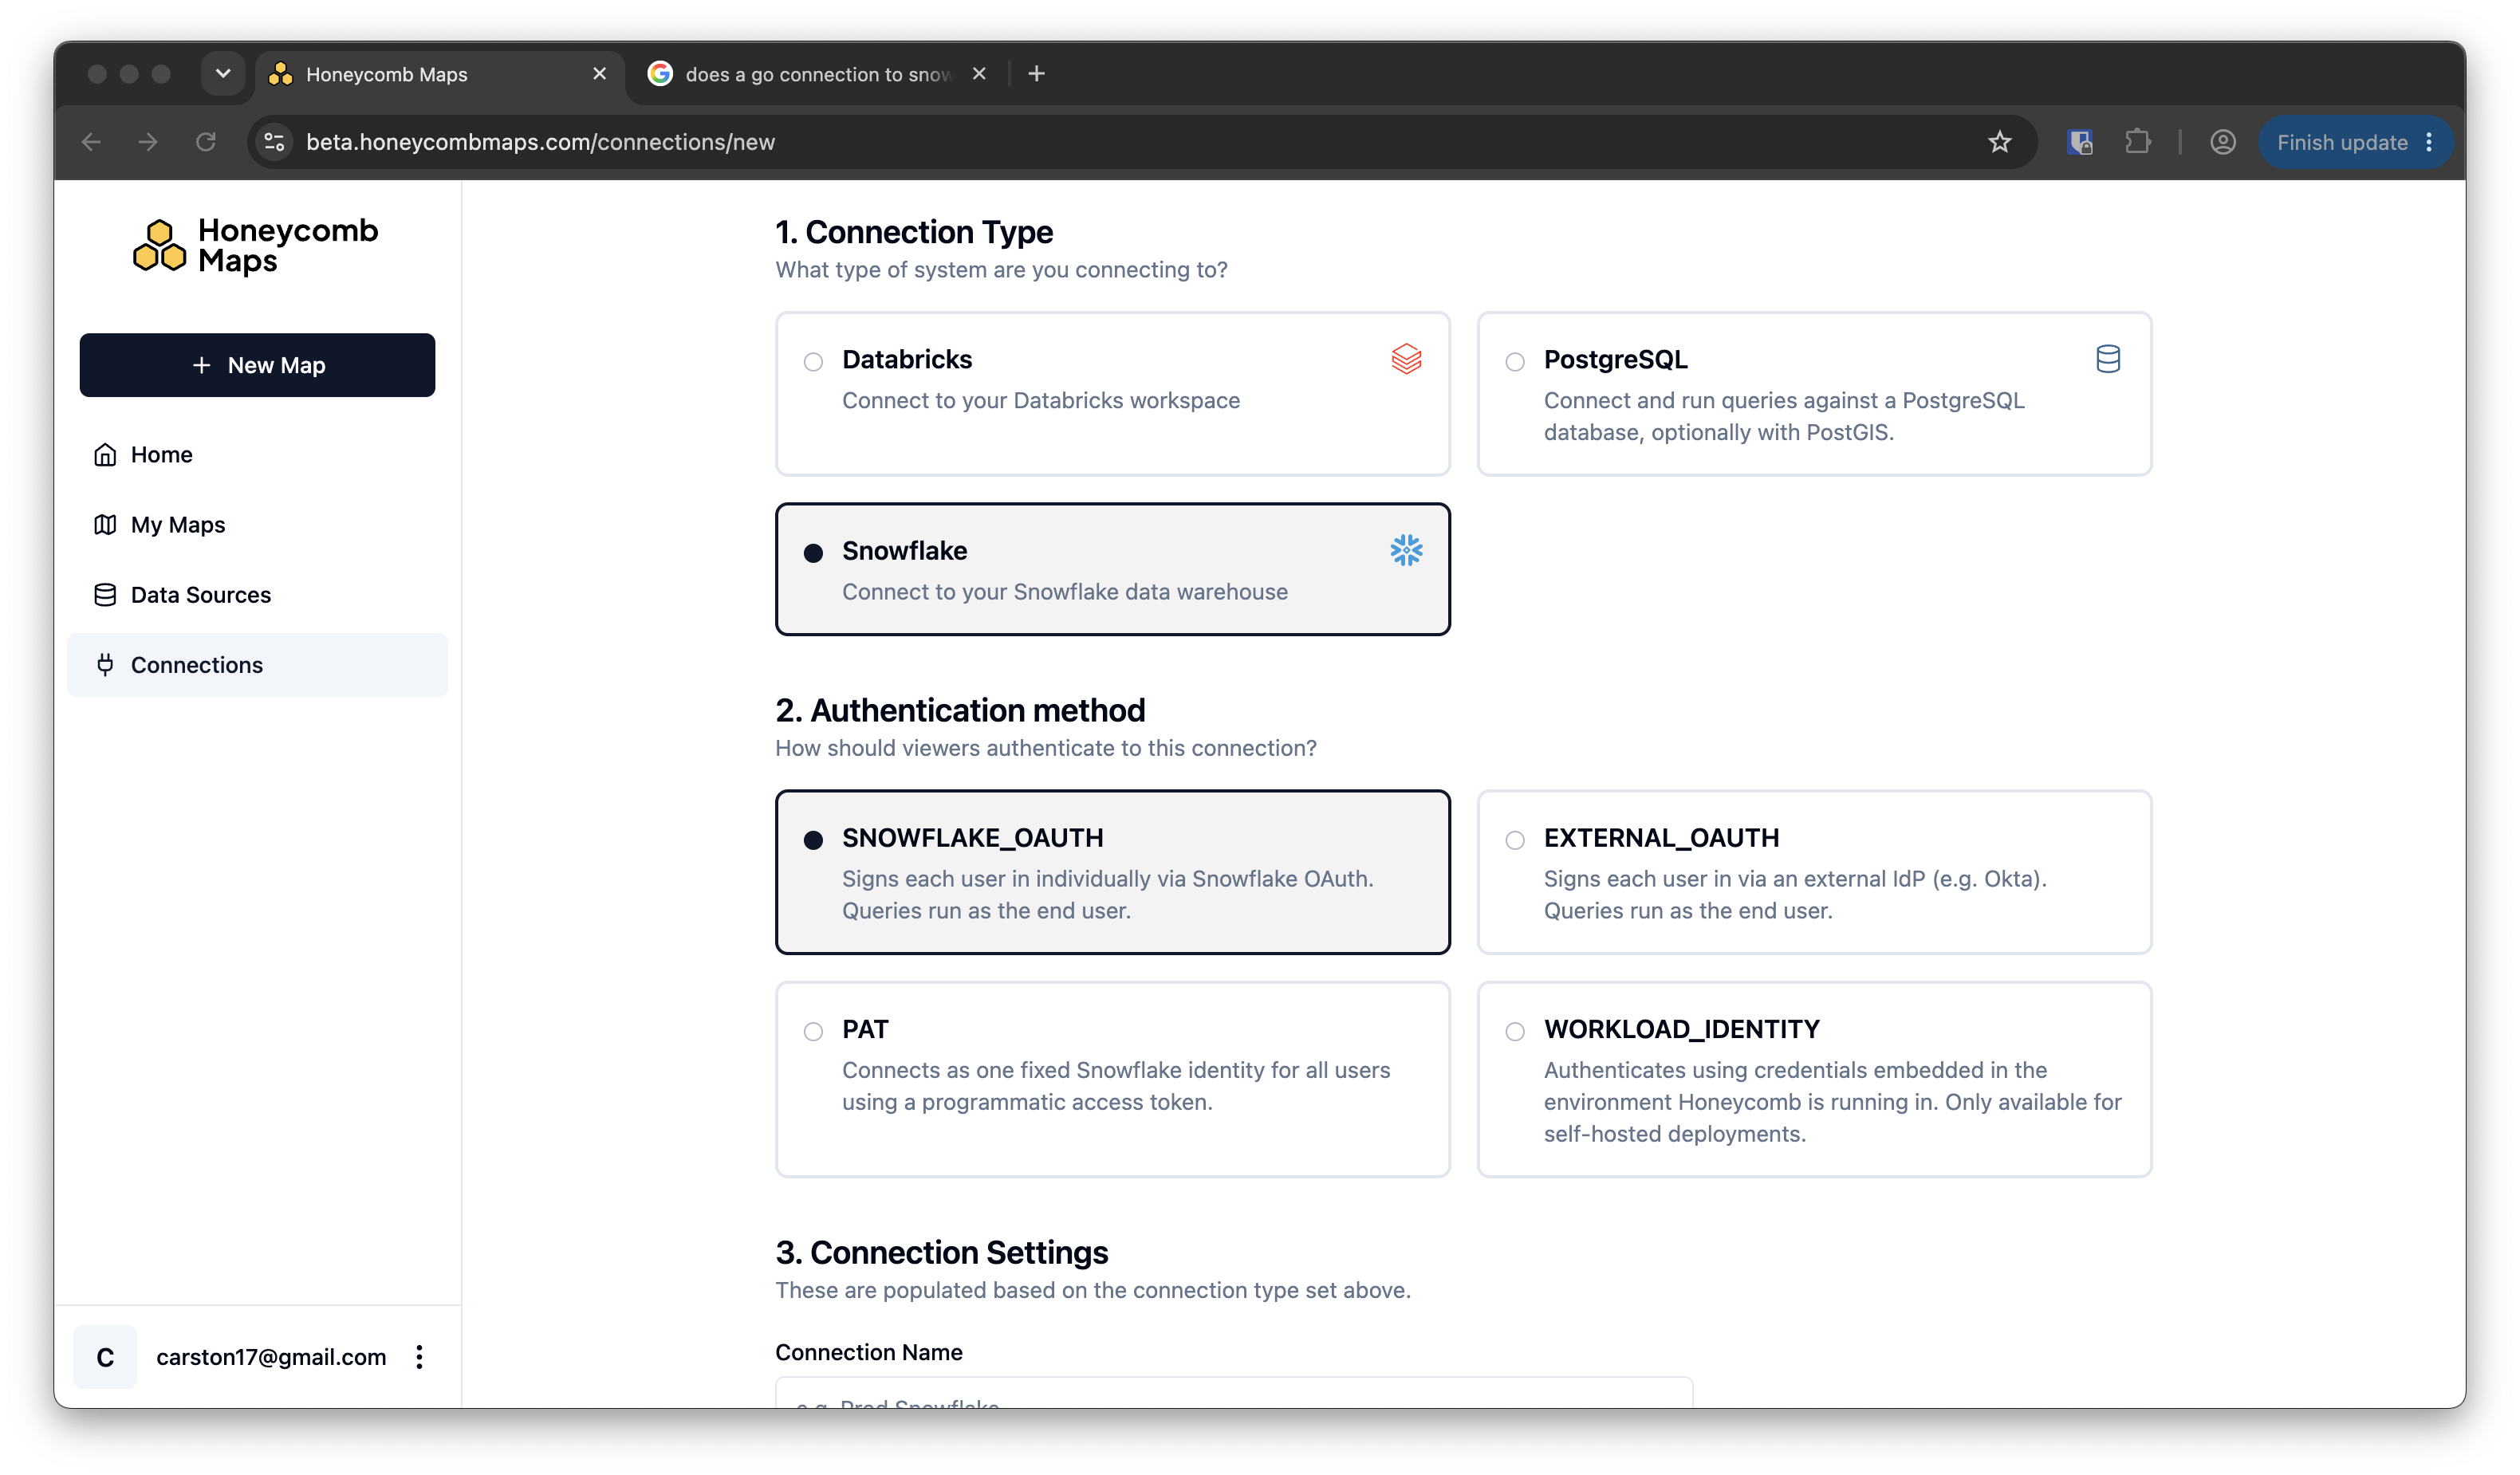
Fill in the following fields. You will need to get some information from Snowflake.
| Field | Required for Snowflake OAuth | Details |
|---|---|---|
| Connection Name | Yes | User-facing name for the connection. |
| Account Identifier | Yes | You can find your Snowflake account identifier in the bottom-left corner of the Snowsight web interface by clicking your account name and selecting Connect a tool to Snowflake. |
| Host | No | Leave blank. |
| Warehouse | Yes | The name of the Snowflake warehouse that should be used when Honeycomb Maps fetches data. |
| Database | No | The default Snowflake database that Honeycomb Maps should use. |
| Schema | No | Optional. |
| Role | No | The role that should be used when connecting. The user authenticating must have this role. |
| OAuth Client ID | Yes | Get this from running SELECT SYSTEM$SHOW_OAUTH_CLIENT_SECRETS('OAUTH_HONEYCOMB_MAPS_INTEGRATION');. |
| OAuth Client Secret | Yes | Get this from running SELECT SYSTEM$SHOW_OAUTH_CLIENT_SECRETS('OAUTH_HONEYCOMB_MAPS_INTEGRATION'); (two secrets will be shown, you only need to use one). |
| OAuth Authorization URL | Yes | Get this from running DESCRIBE INTEGRATION <integration_name>. It will be in the format https://myorg-account_xyz.snowflakecomputing.com/oauth/authorize. |
| OAuth Token URL | Yes | Get this from running DESCRIBE INTEGRATION <integration_name>. It will be in the format https://myorg-account_xyz.snowflakecomputing.com/oauth/token-request. |
| OAuth Scopes | Yes | refresh_token must be present. session:role:ROLE_NAME can be included to scope the integration for a specific role. |
- Click on 'Save Connection'. After a moment, you should see the connection details, with the Status showing as 'Error - You have not connected your account to this connection'. This is expected.
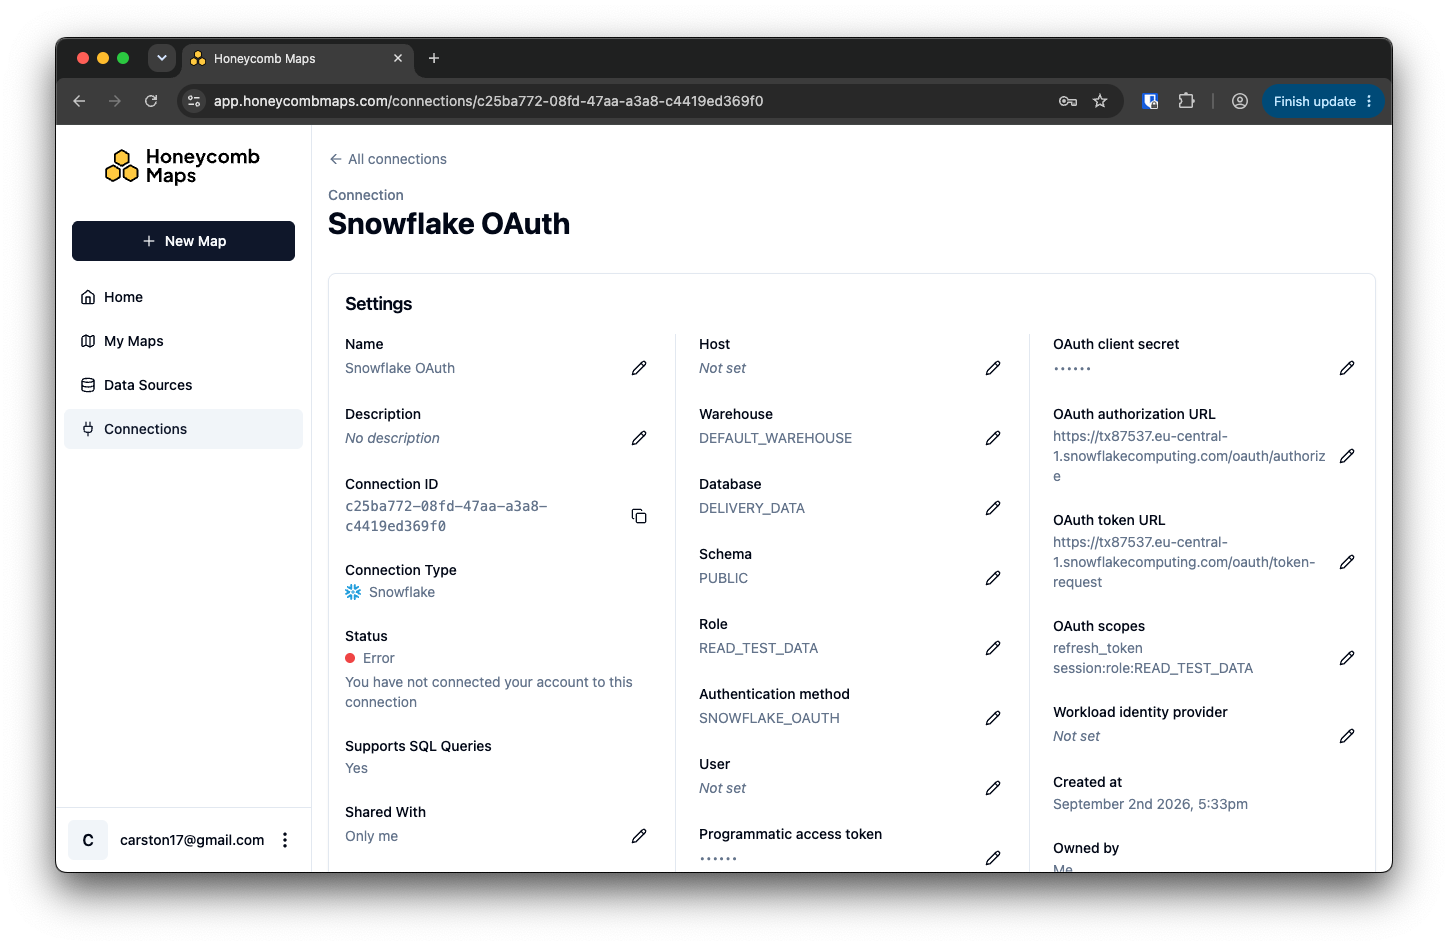
Click on the 'Connect' button on the left side at the bottom of the page. This will redirect you to Snowflake to log in and approve the connection.
You should be redirected back to Honeycomb Maps, and the connection should now show as 'Connected'.
Now that the connection is active, the next step is to create a data source that uses this connection. Click on 'Data Sources' on the left sidebar, then on 'Add a new data source'. Select the connection you just configured, then enter a SQL query that will be used to fetch data from Snowflake.