Adding data sources to the Honeycomb Maps Web App
Overview
Getting data into Honeycomb Maps is a critical first step before you can make a map with it. Honeycomb Maps does not provide data, instead you must bring your own.
Most Honeycomb Maps customers visualize a combination of their own data (i.e. order locations, vehicle routes, geofences) and third-party or public data (city boundary polygons, weather alert areas).
Honeycomb Maps requires at least one column of your data to contain geographic data (locations), so that the data can be placed onto the map correctly. See Structuring Data for Honeycomb for detailed information.
Uploading Files
If you have a data file on your computer, the easiest way to use it with Honeycomb is to upload it directly. The Web App supports CSV, GeoJSON, KML, KMZ, GPKG, and Parquet file types (100MB limit).
To upload a file, click on Data Sources on the left-hand sidebar.
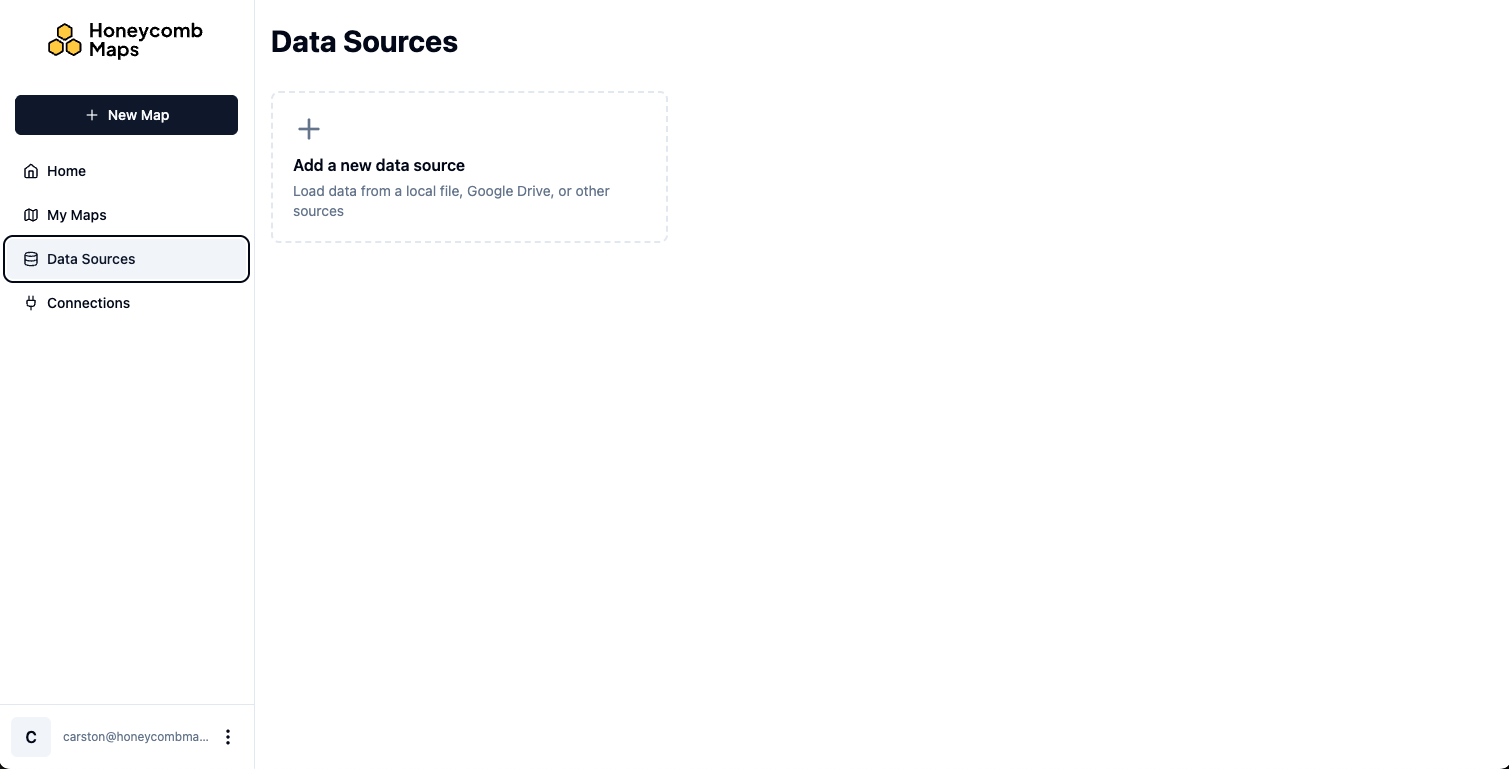
Then click on Add a new data source.

The data source type will default to File Upload. Click on the box under Select File From Computer and select the file you would like to use with Honeycomb Maps.
Follow along
To use the same earthquake data shown in this guide, download SF_earthquakes.csv (Source: USGS).
A preview of the data will be shown. Ensure it contains the data that you expect.
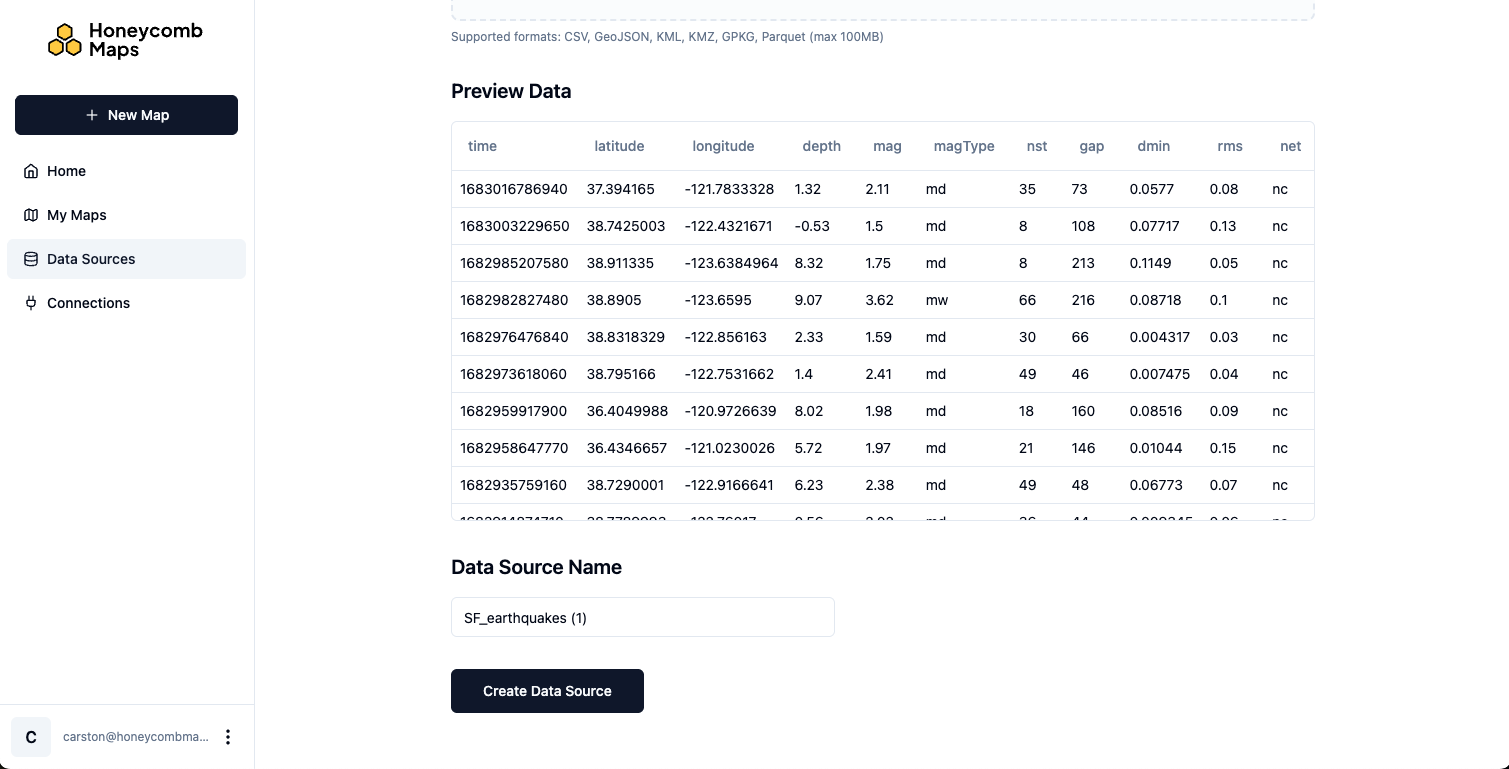
Give the data source a readable name.
Click on Create Data Source to upload the data to Honeycomb Maps. The data source will now be available from the Data Sources pane when editing maps.
Connecting to Cloud Data Sources
Honeycomb Maps can load files directly from common cloud storage tools, including Google Drive, Box, and Dropbox.
Files stored on cloud platforms must be in one of the following file formats: CSV, GeoJSON, KML, KMZ, GPKG, and Parquet. In addition, Google Sheets are supported.
To load a file from a cloud provider, you must first create a connection.
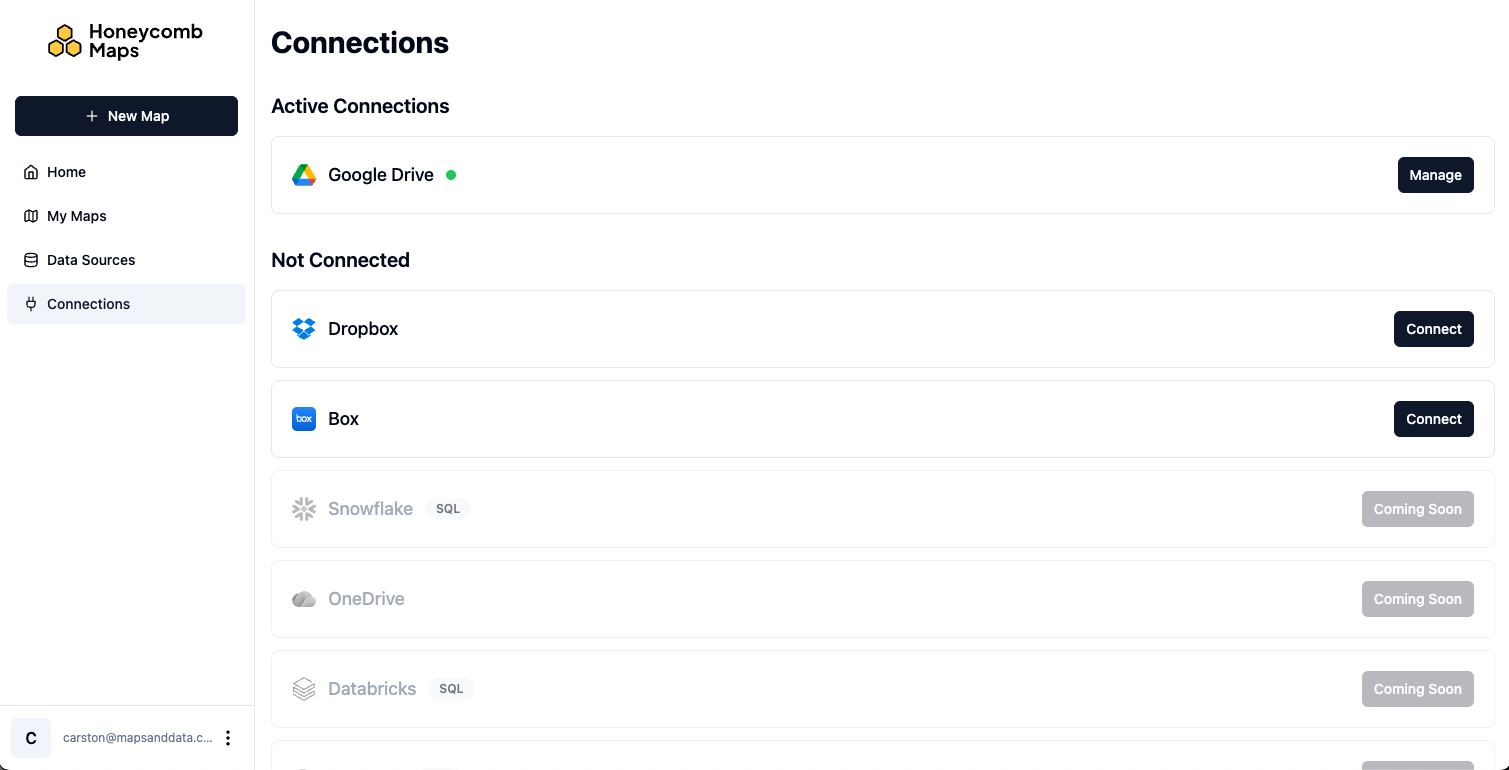
Click on Connections on the left-hand sidebar.
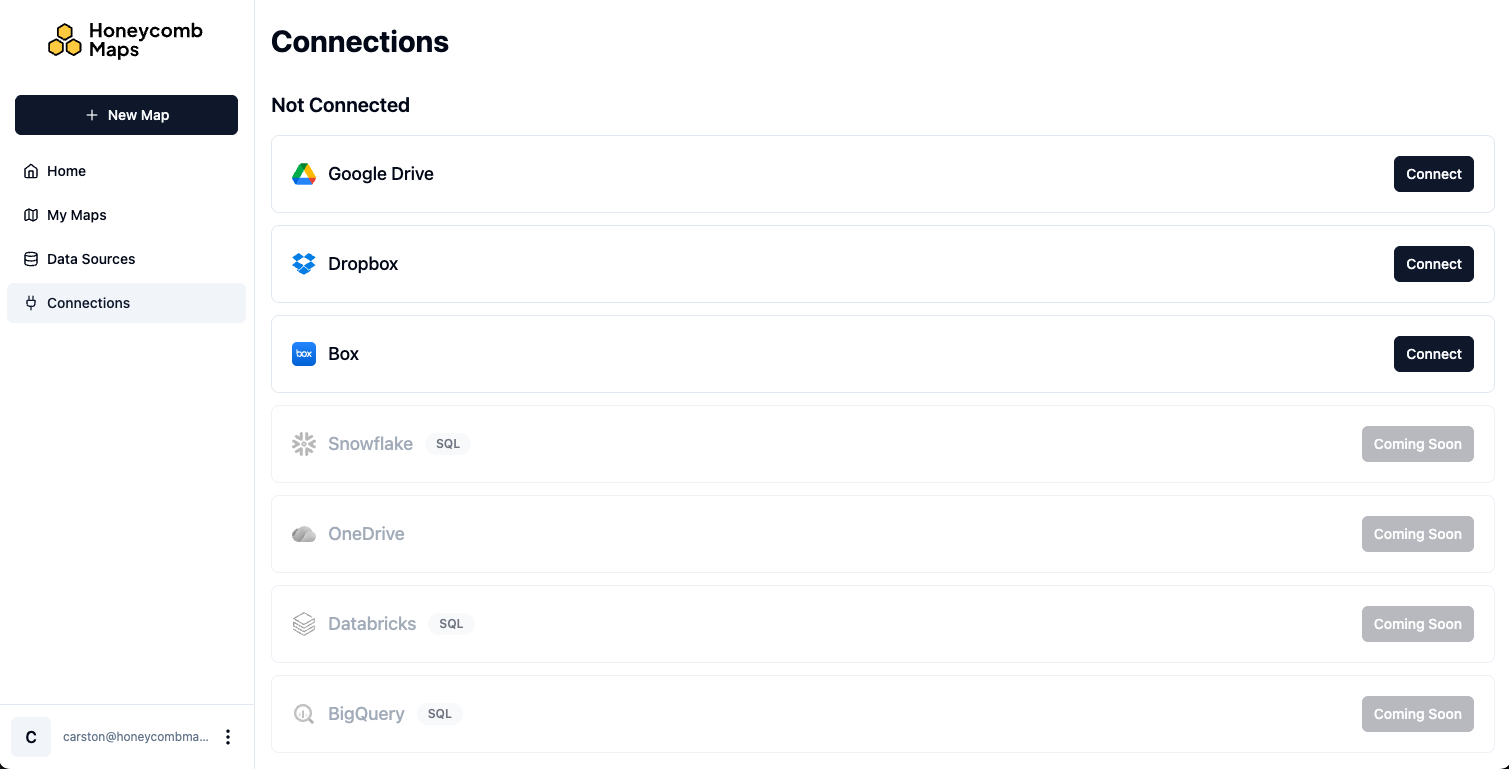
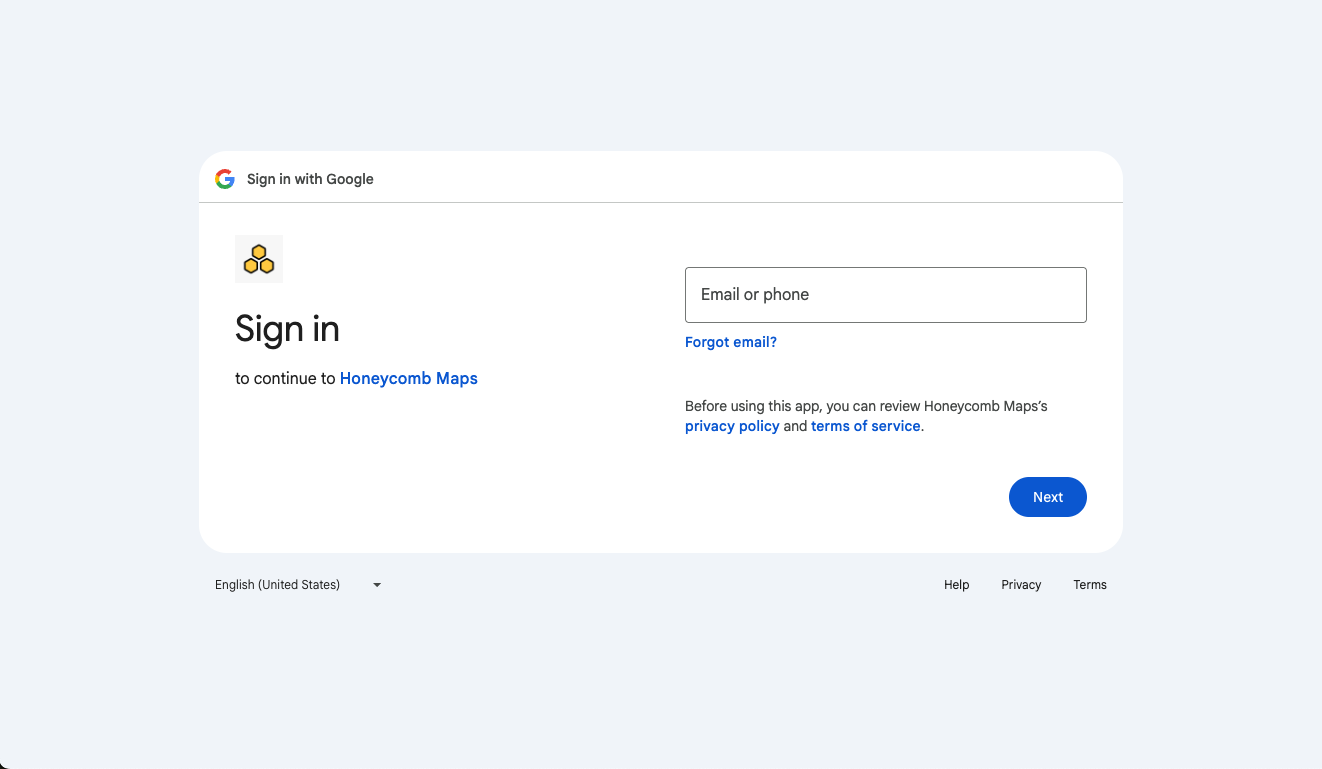
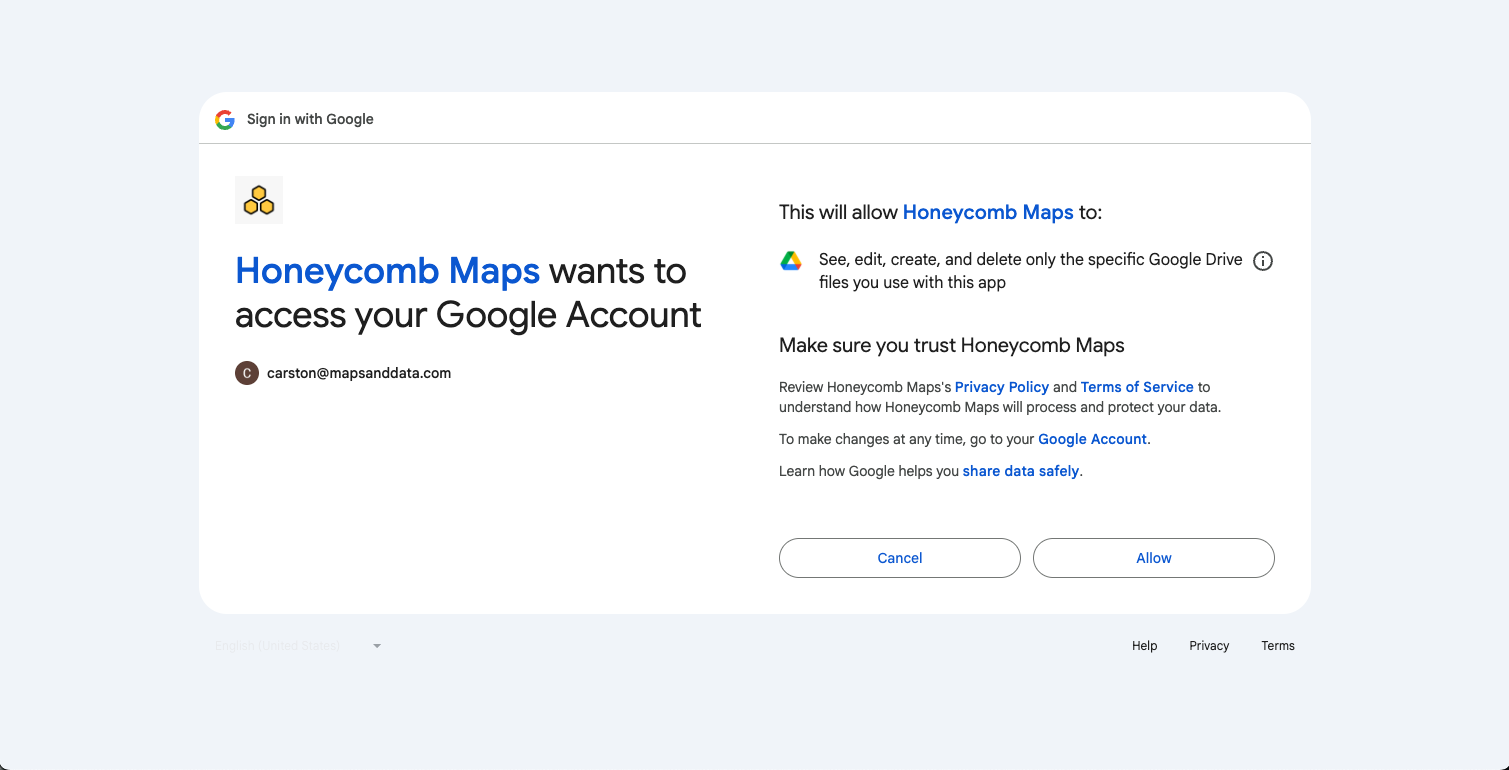
Click on Connect next to the service that you want to connect to. This will initiate an OAuth flow where you will log into the cloud service, and it will ask whether you want to allow Honeycomb Maps to access some of the data in your account.
Once the connection process is complete, you will be redirected to the Connections page, where you should now see the service listed as an Active Connection.
Now click on Data Sources on the left-hand sidebar. Then click on Add a new data source.
Click on the cloud provider that you connected earlier.
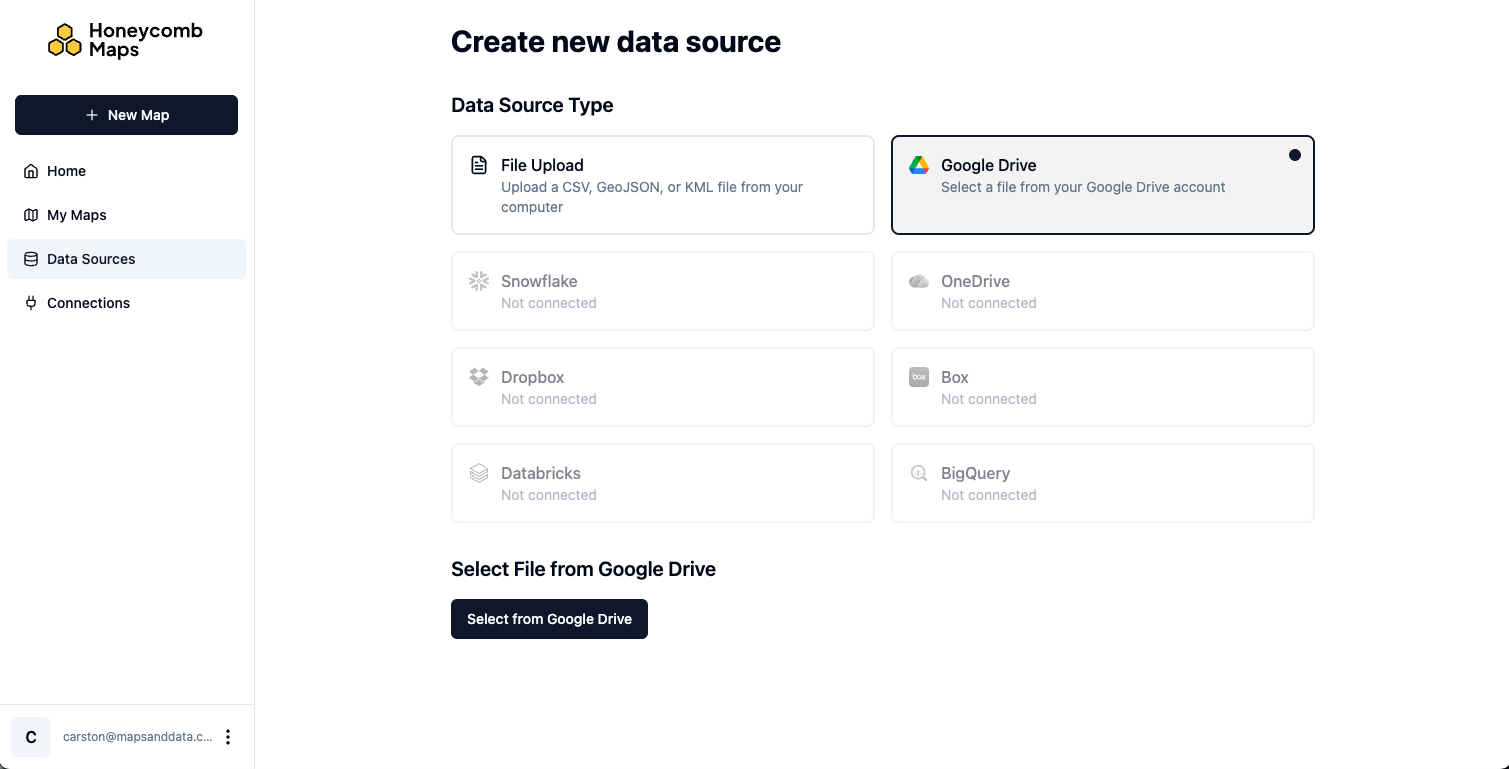
Click on the Select from Google Drive button below. This will open a file picker managed by the connected cloud service.
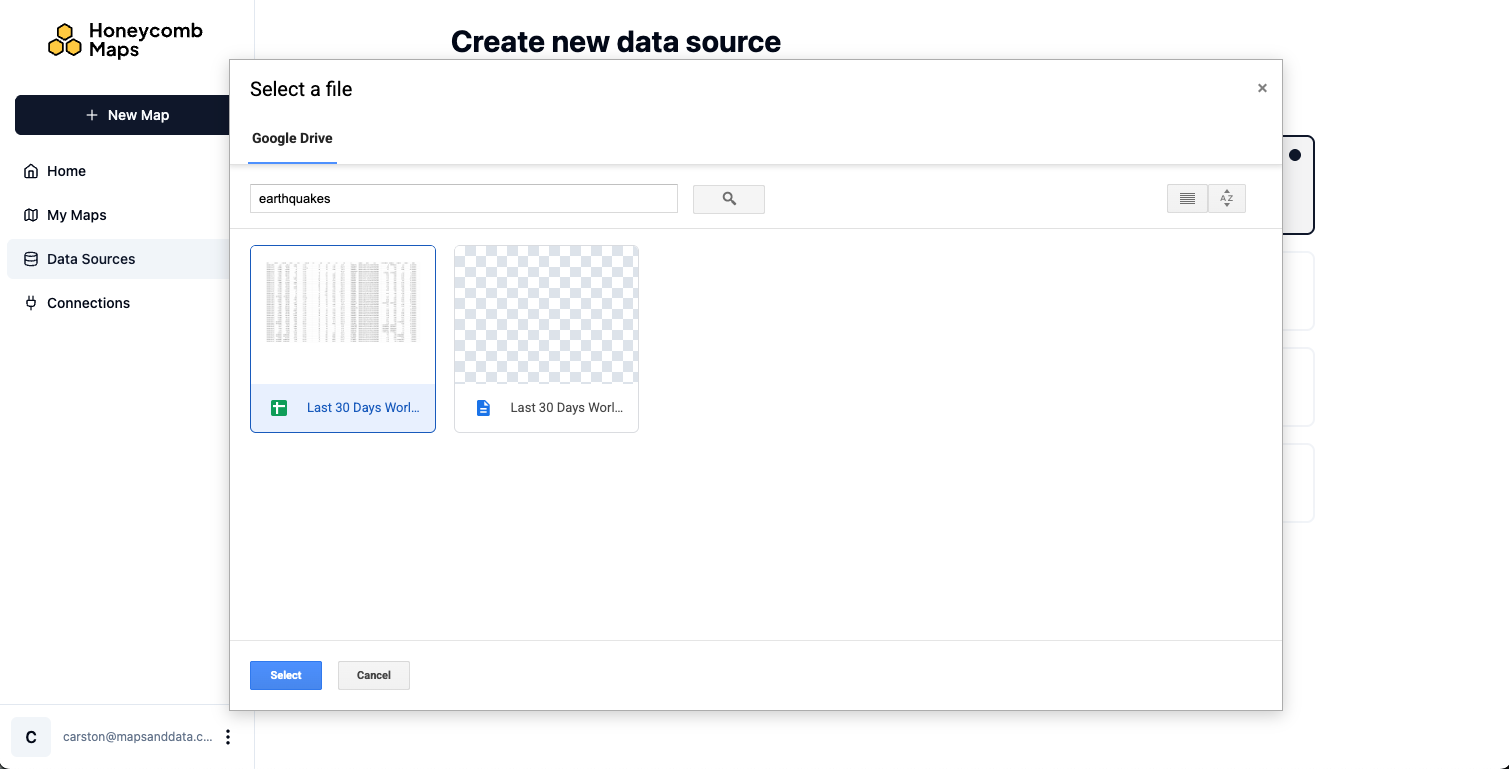
Select the file that you want to use with Honeycomb Maps.
A preview of the data in the file will be shown. Ensure it contains the data that you expect.
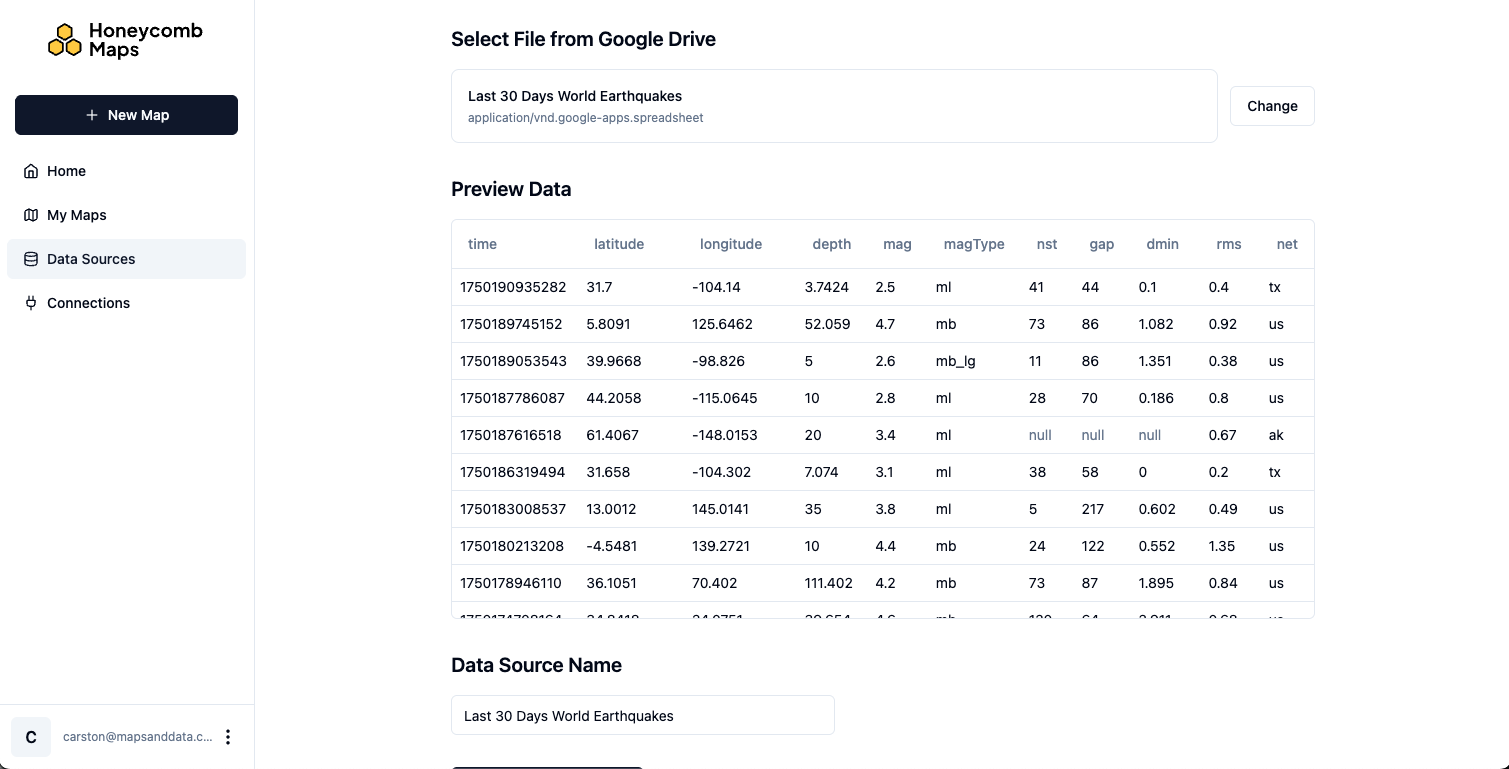
Give the data source a descriptive name and click Create Data Source.
The data source will now be available from the Data Sources pane when editing maps.